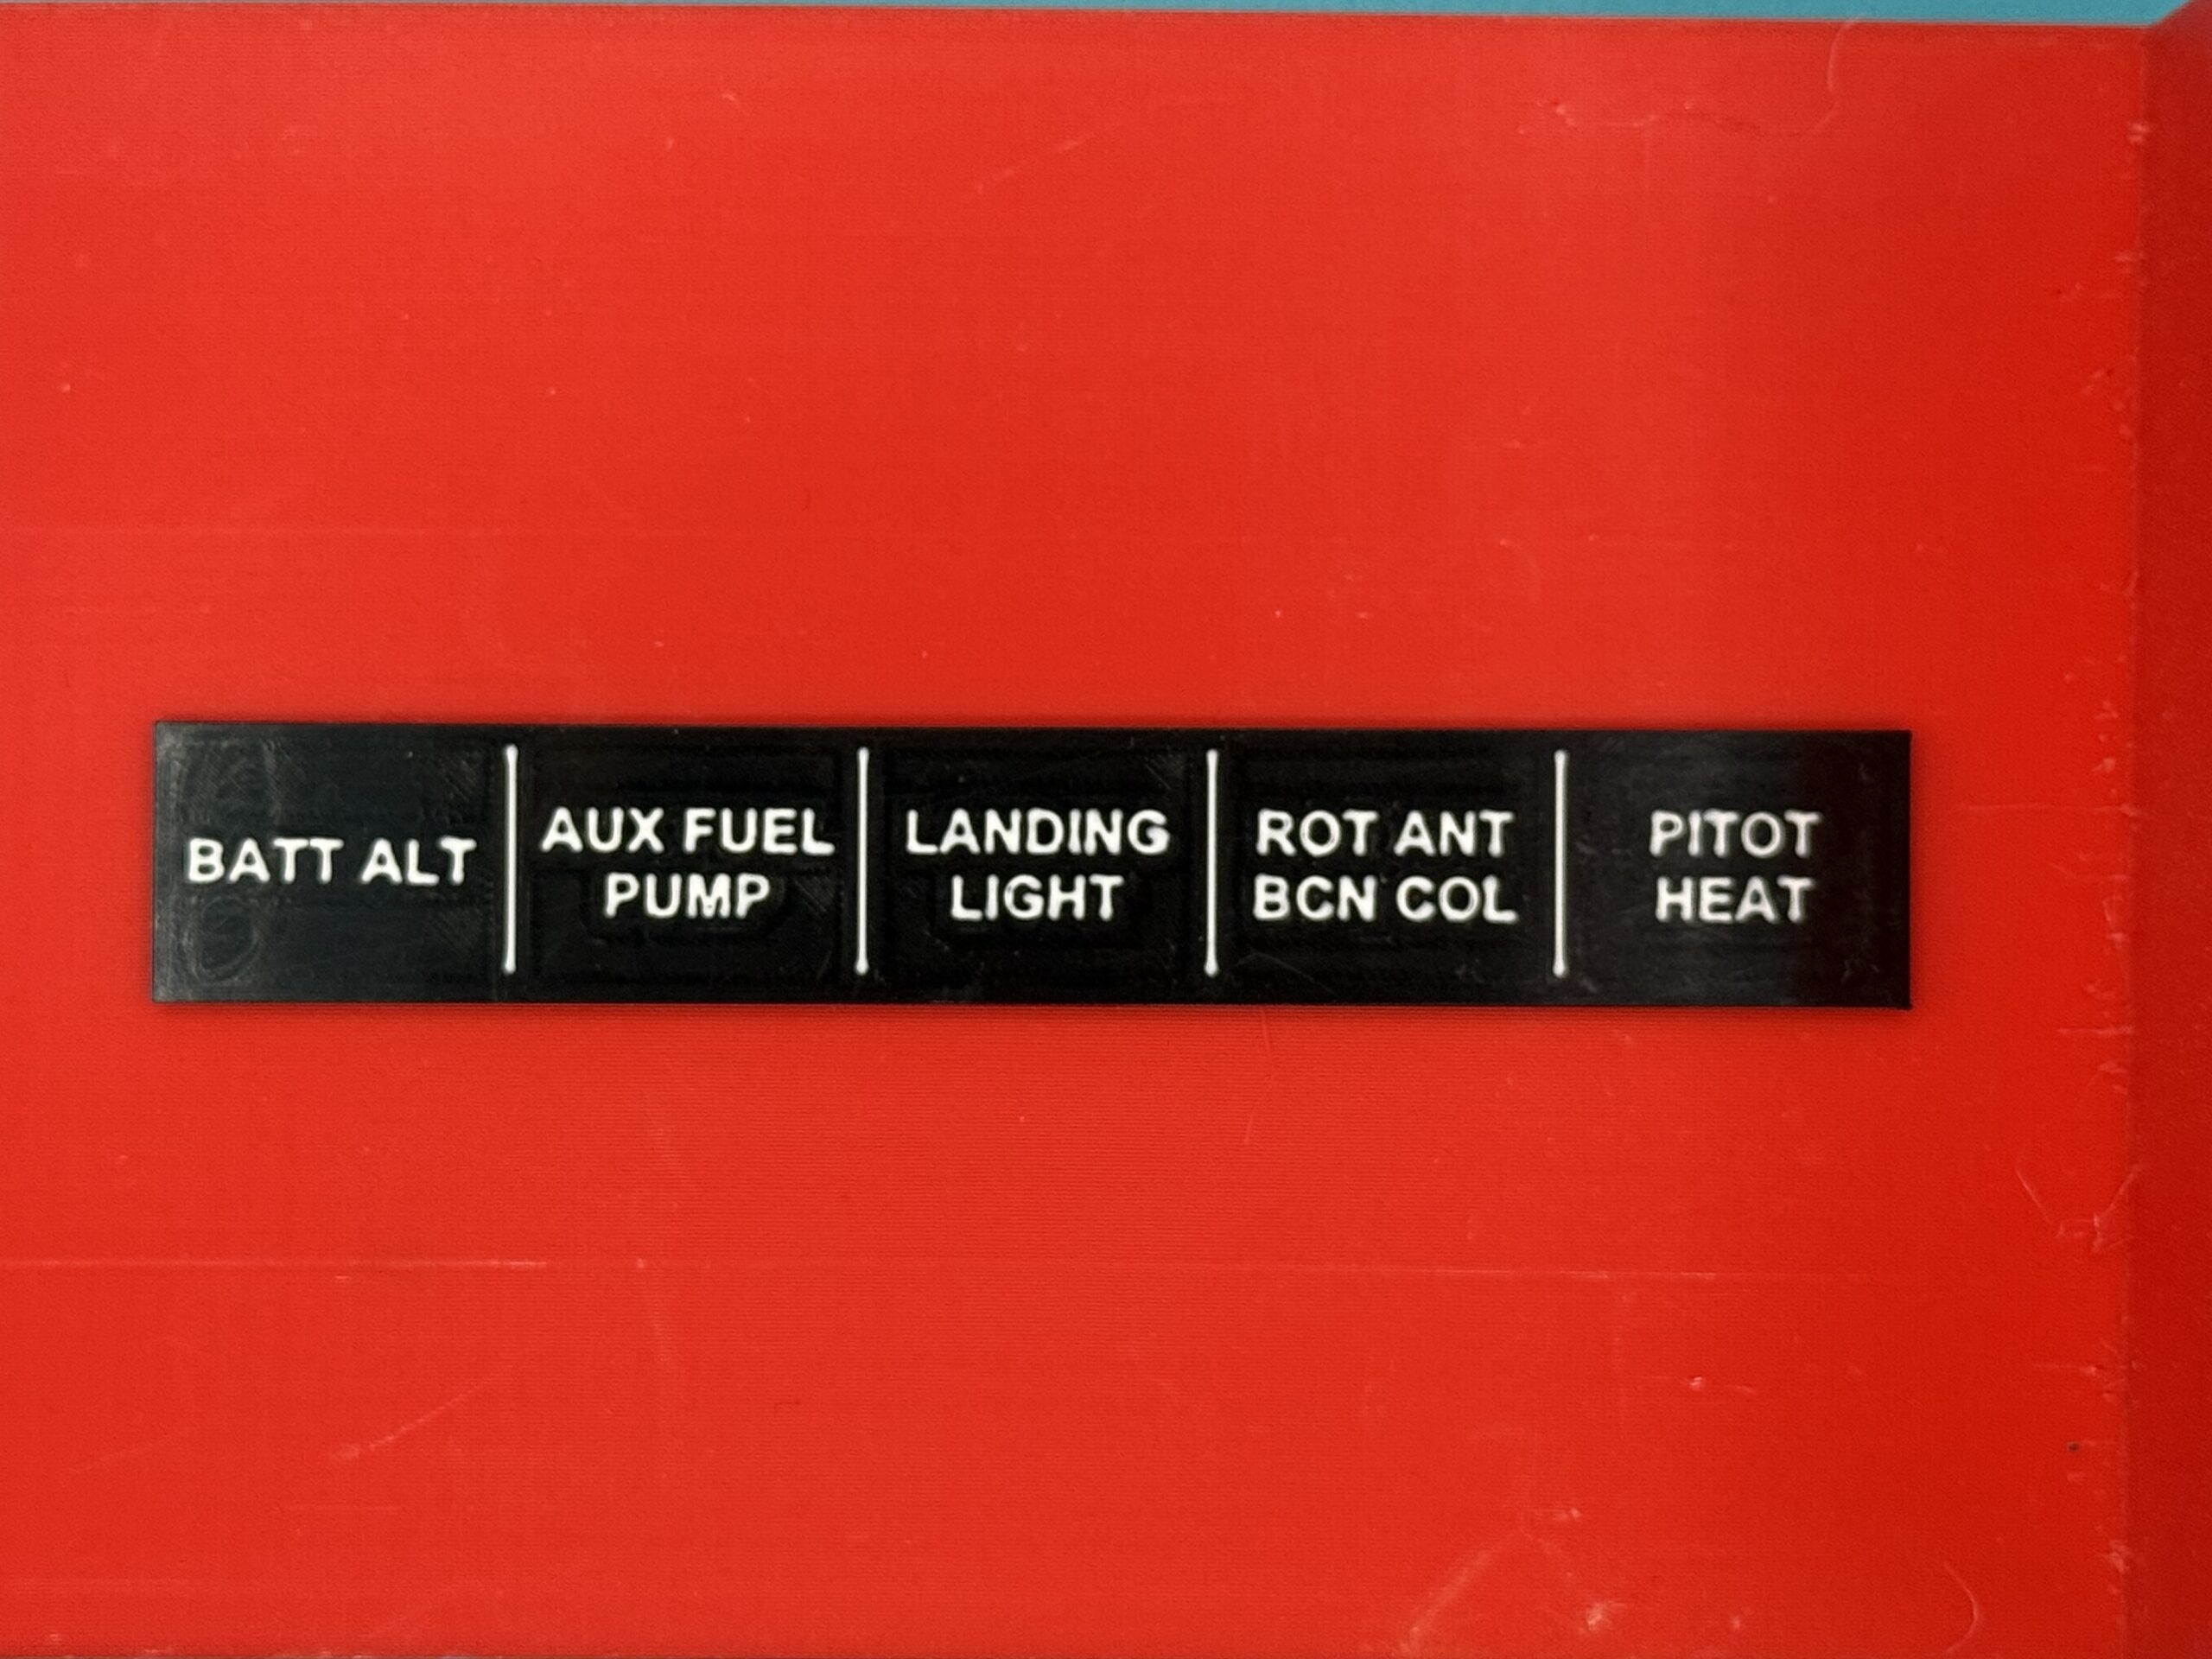
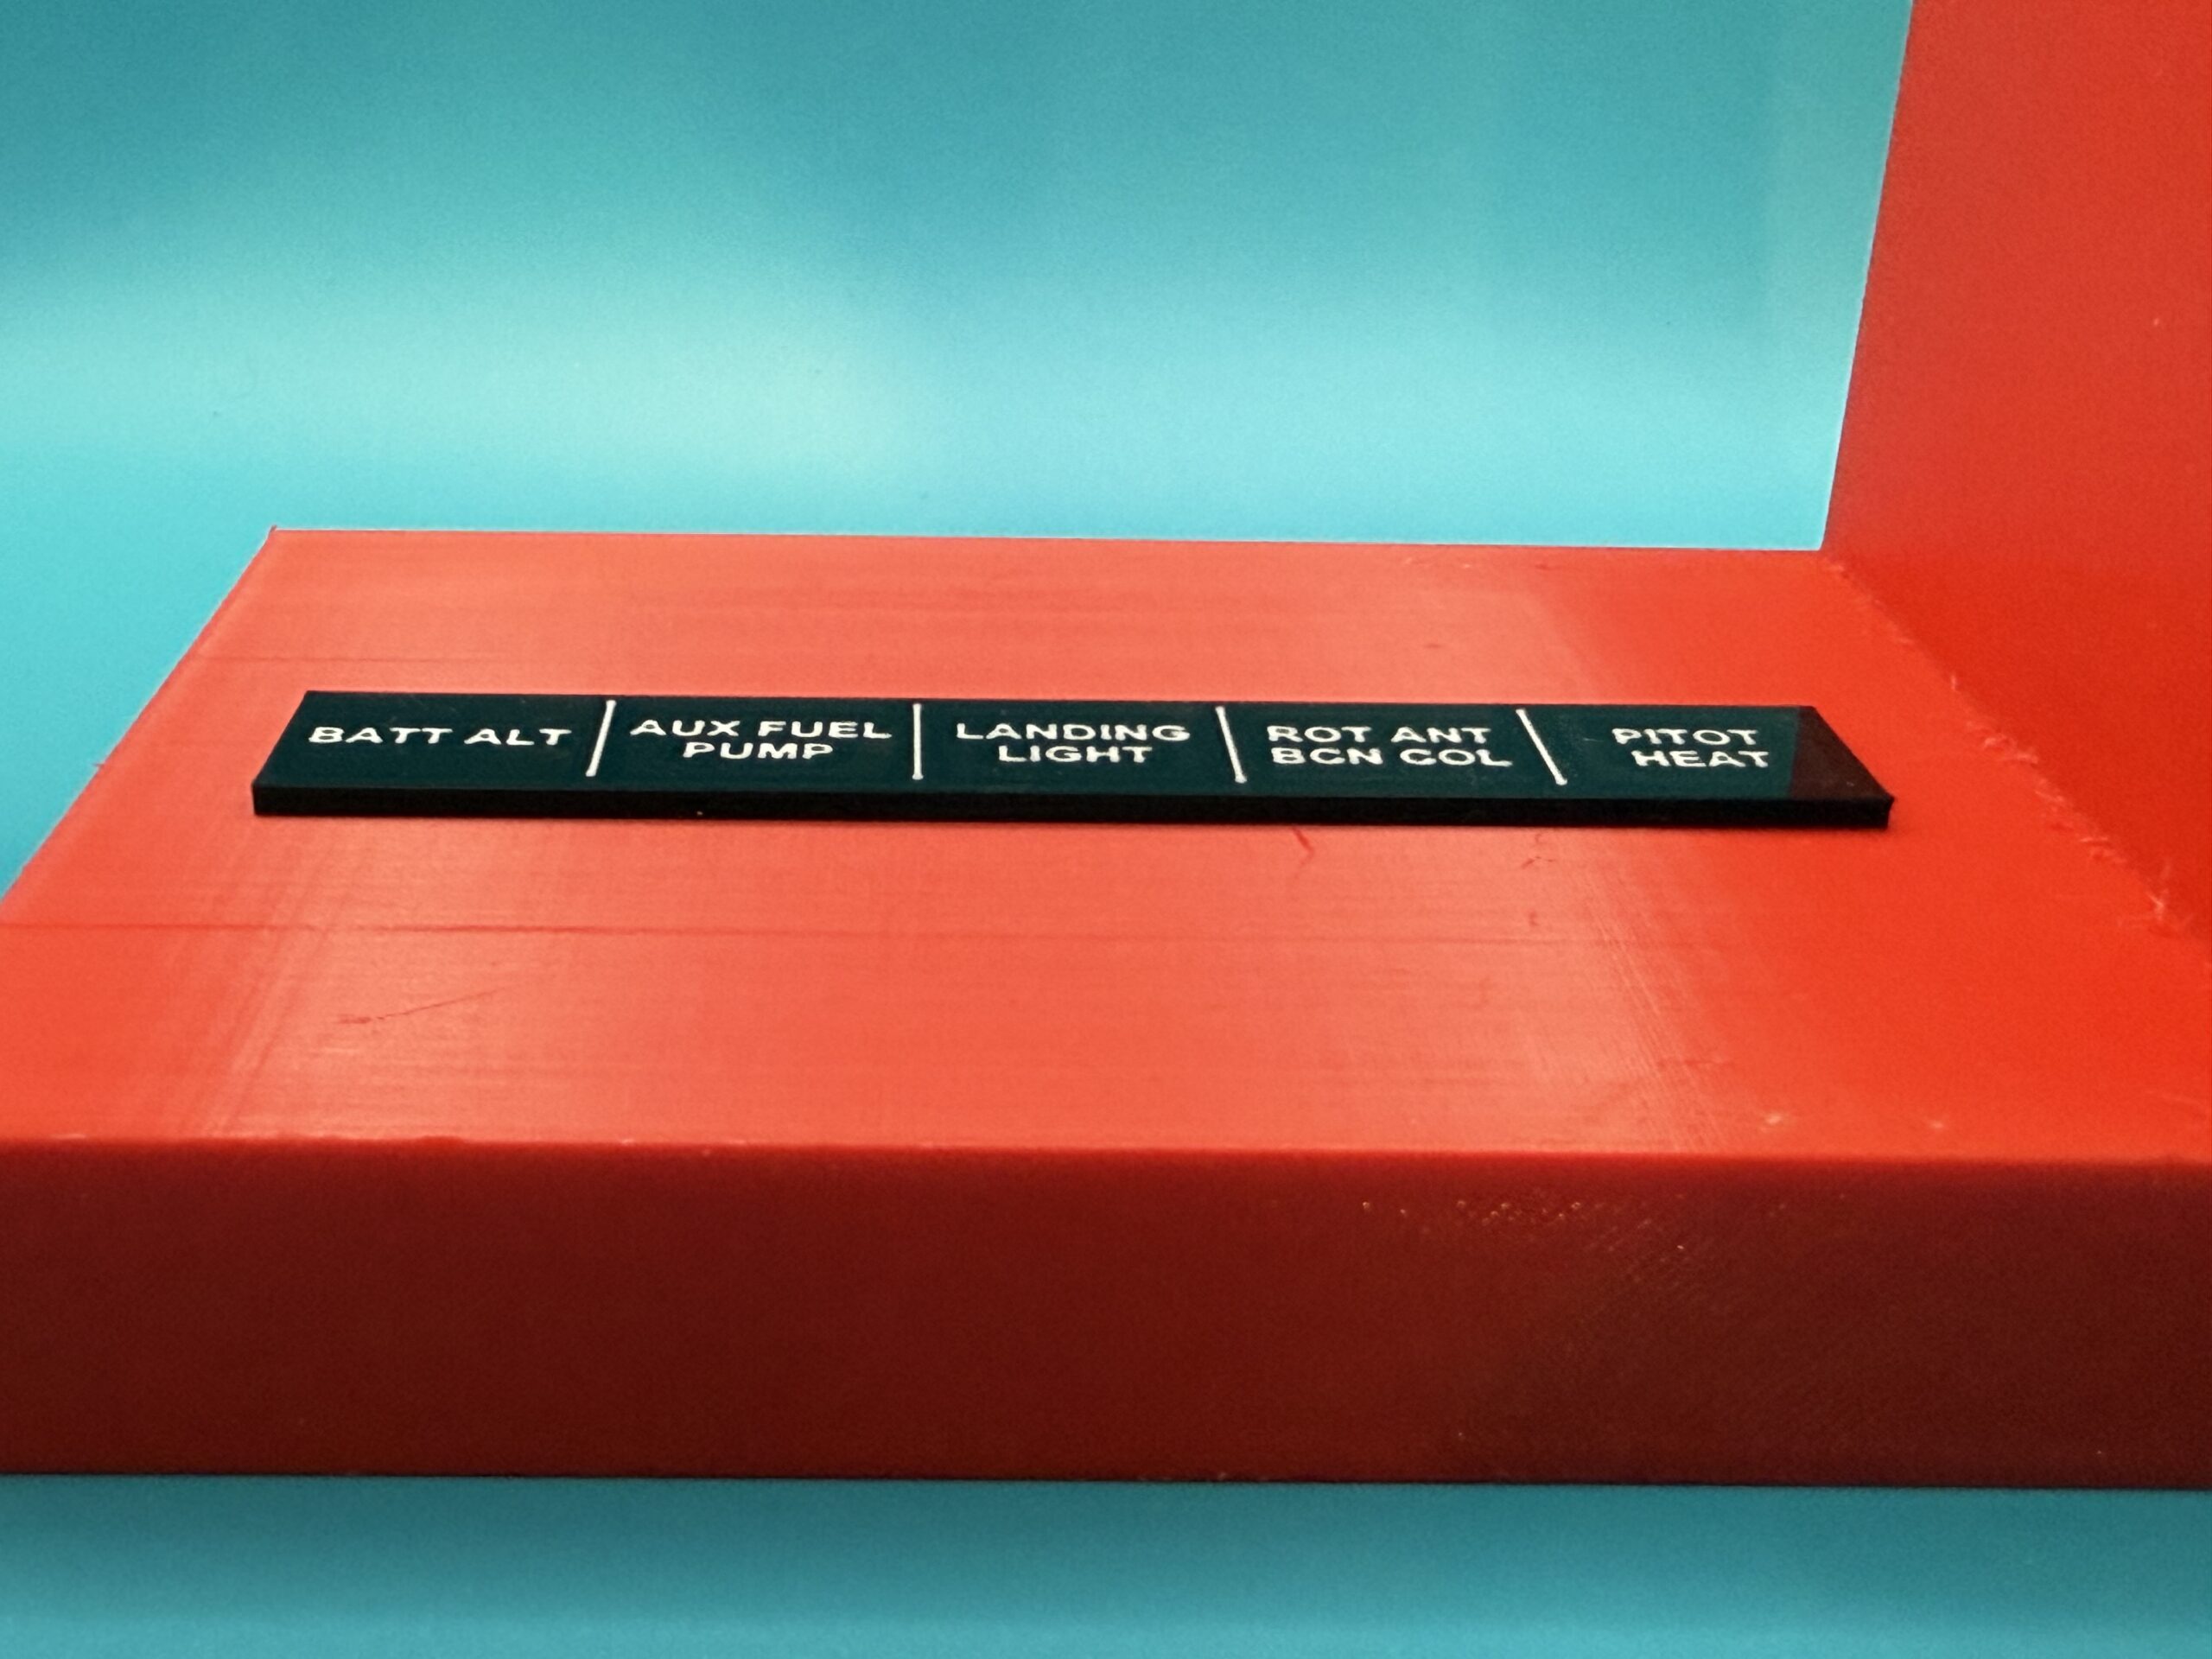
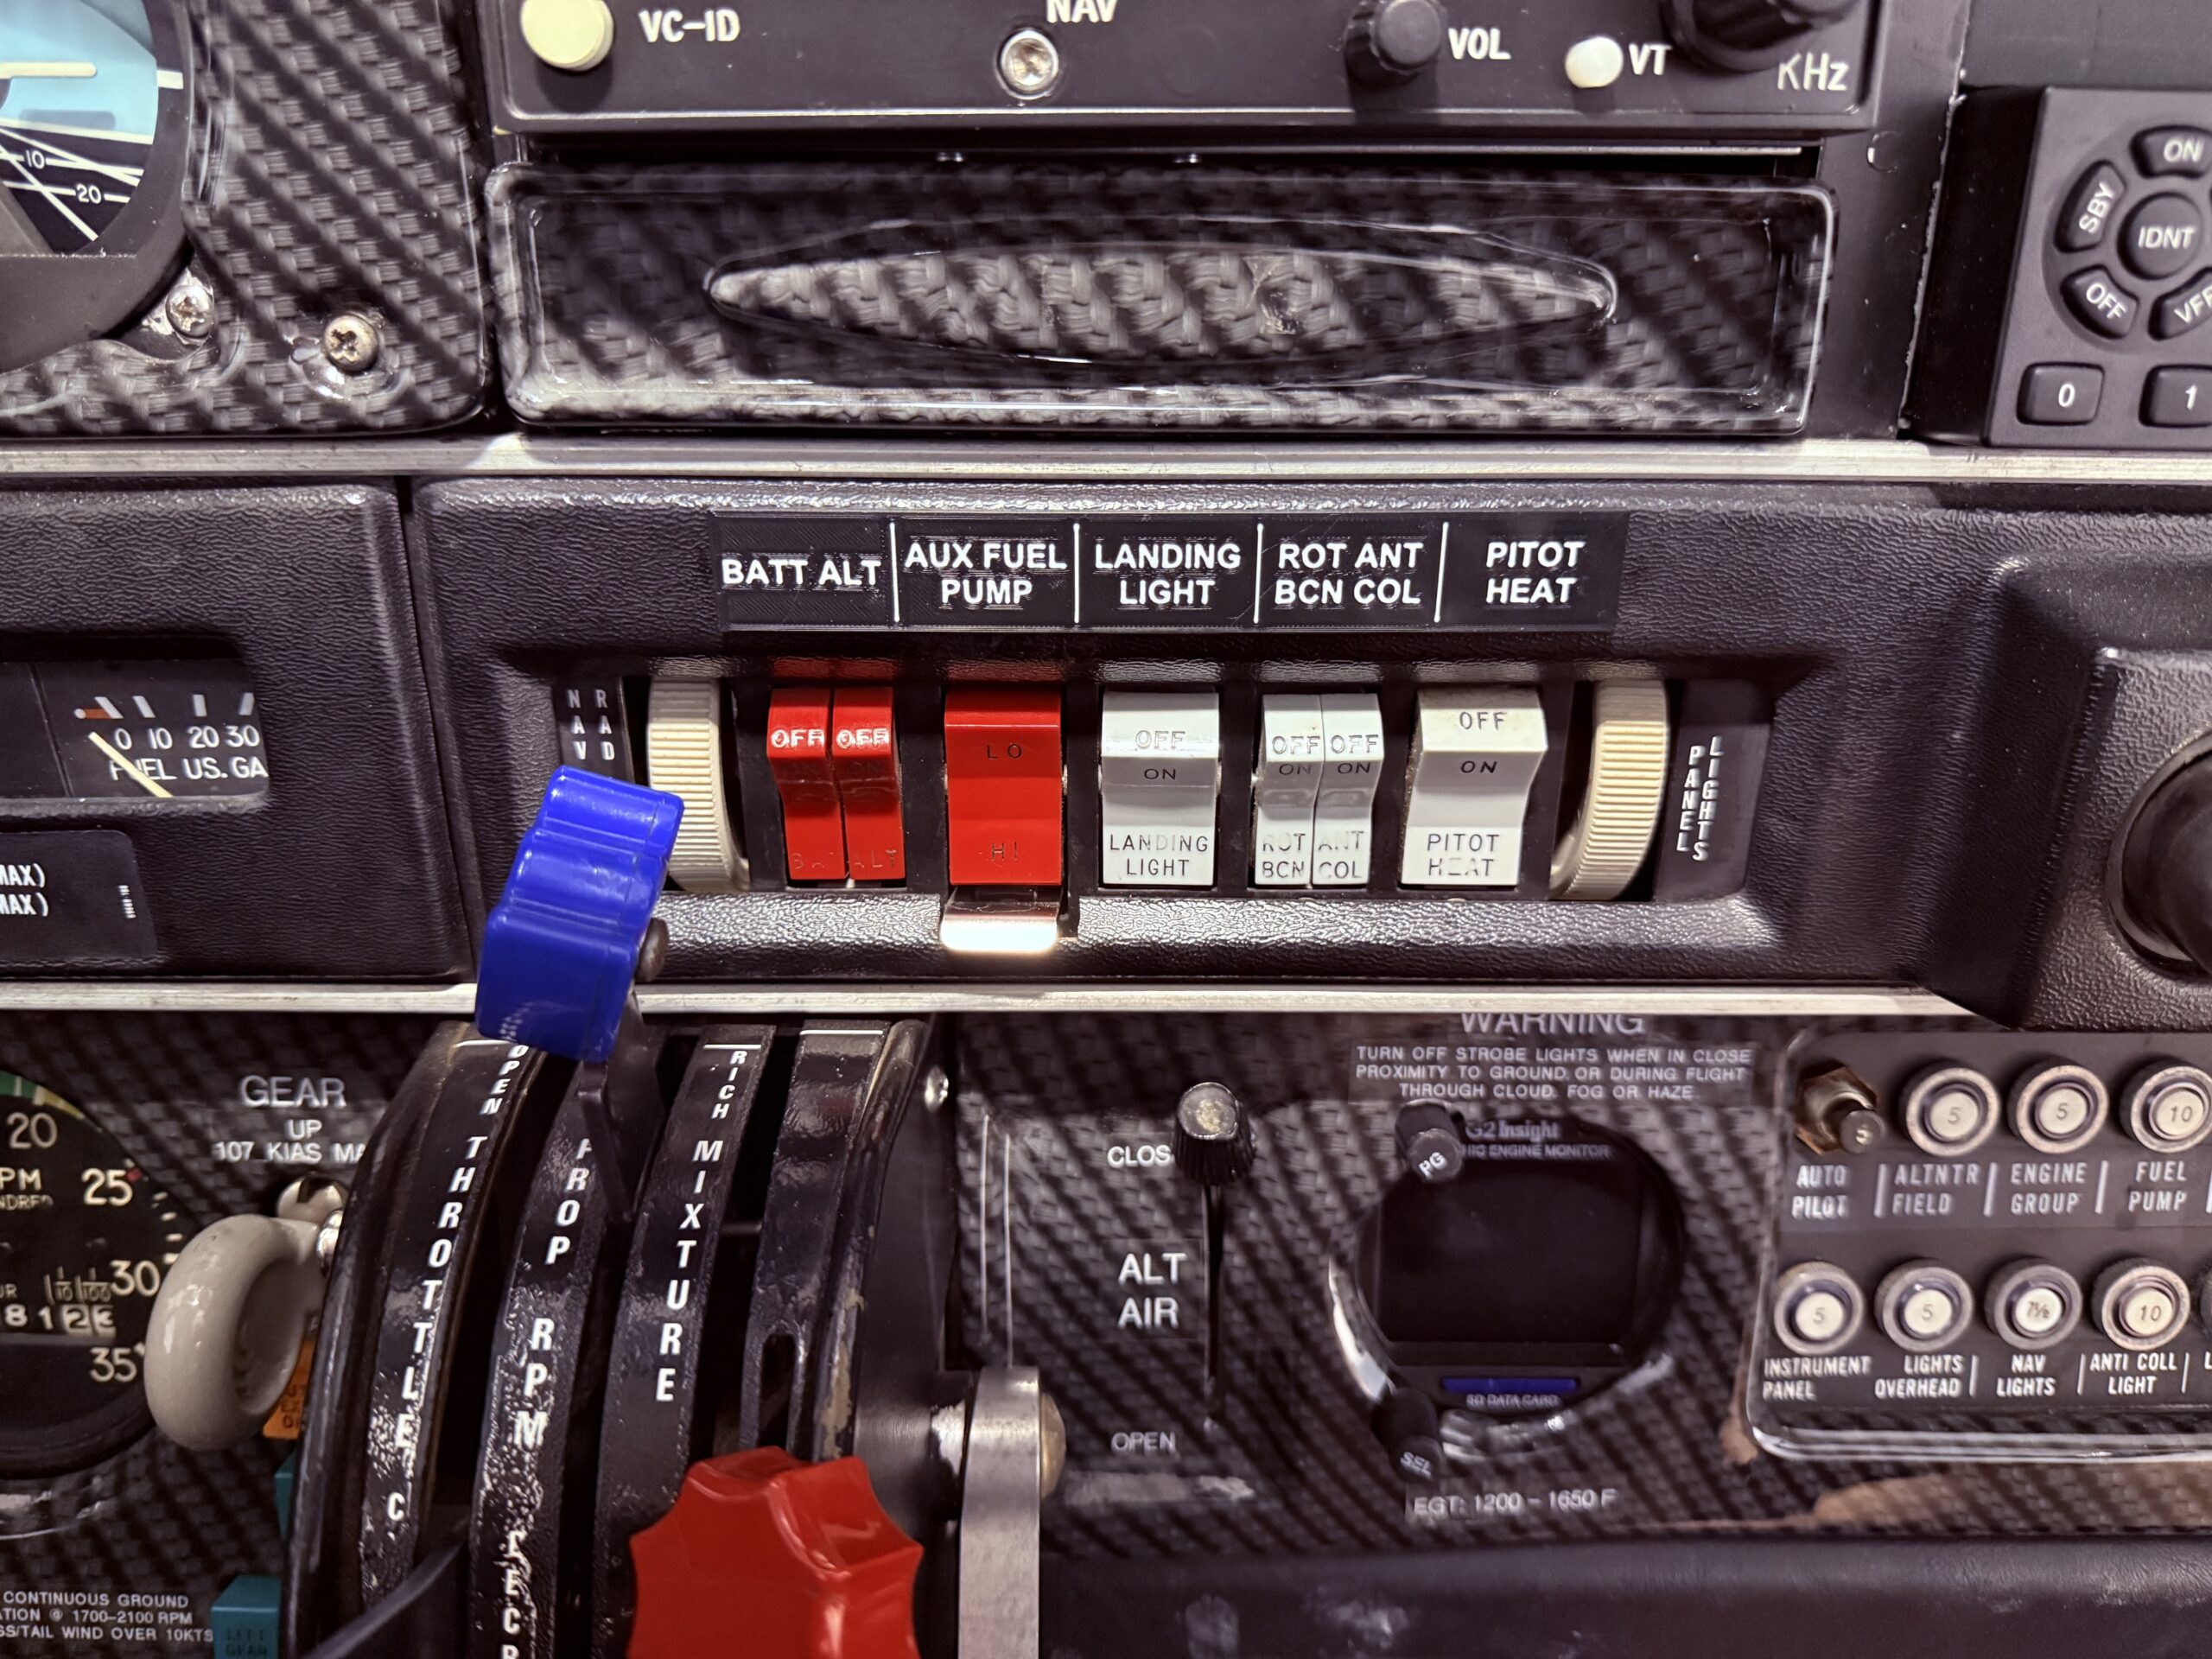
Switch Panel Rocker Placard – Piper PA28

$20.00

+ Free Shipping

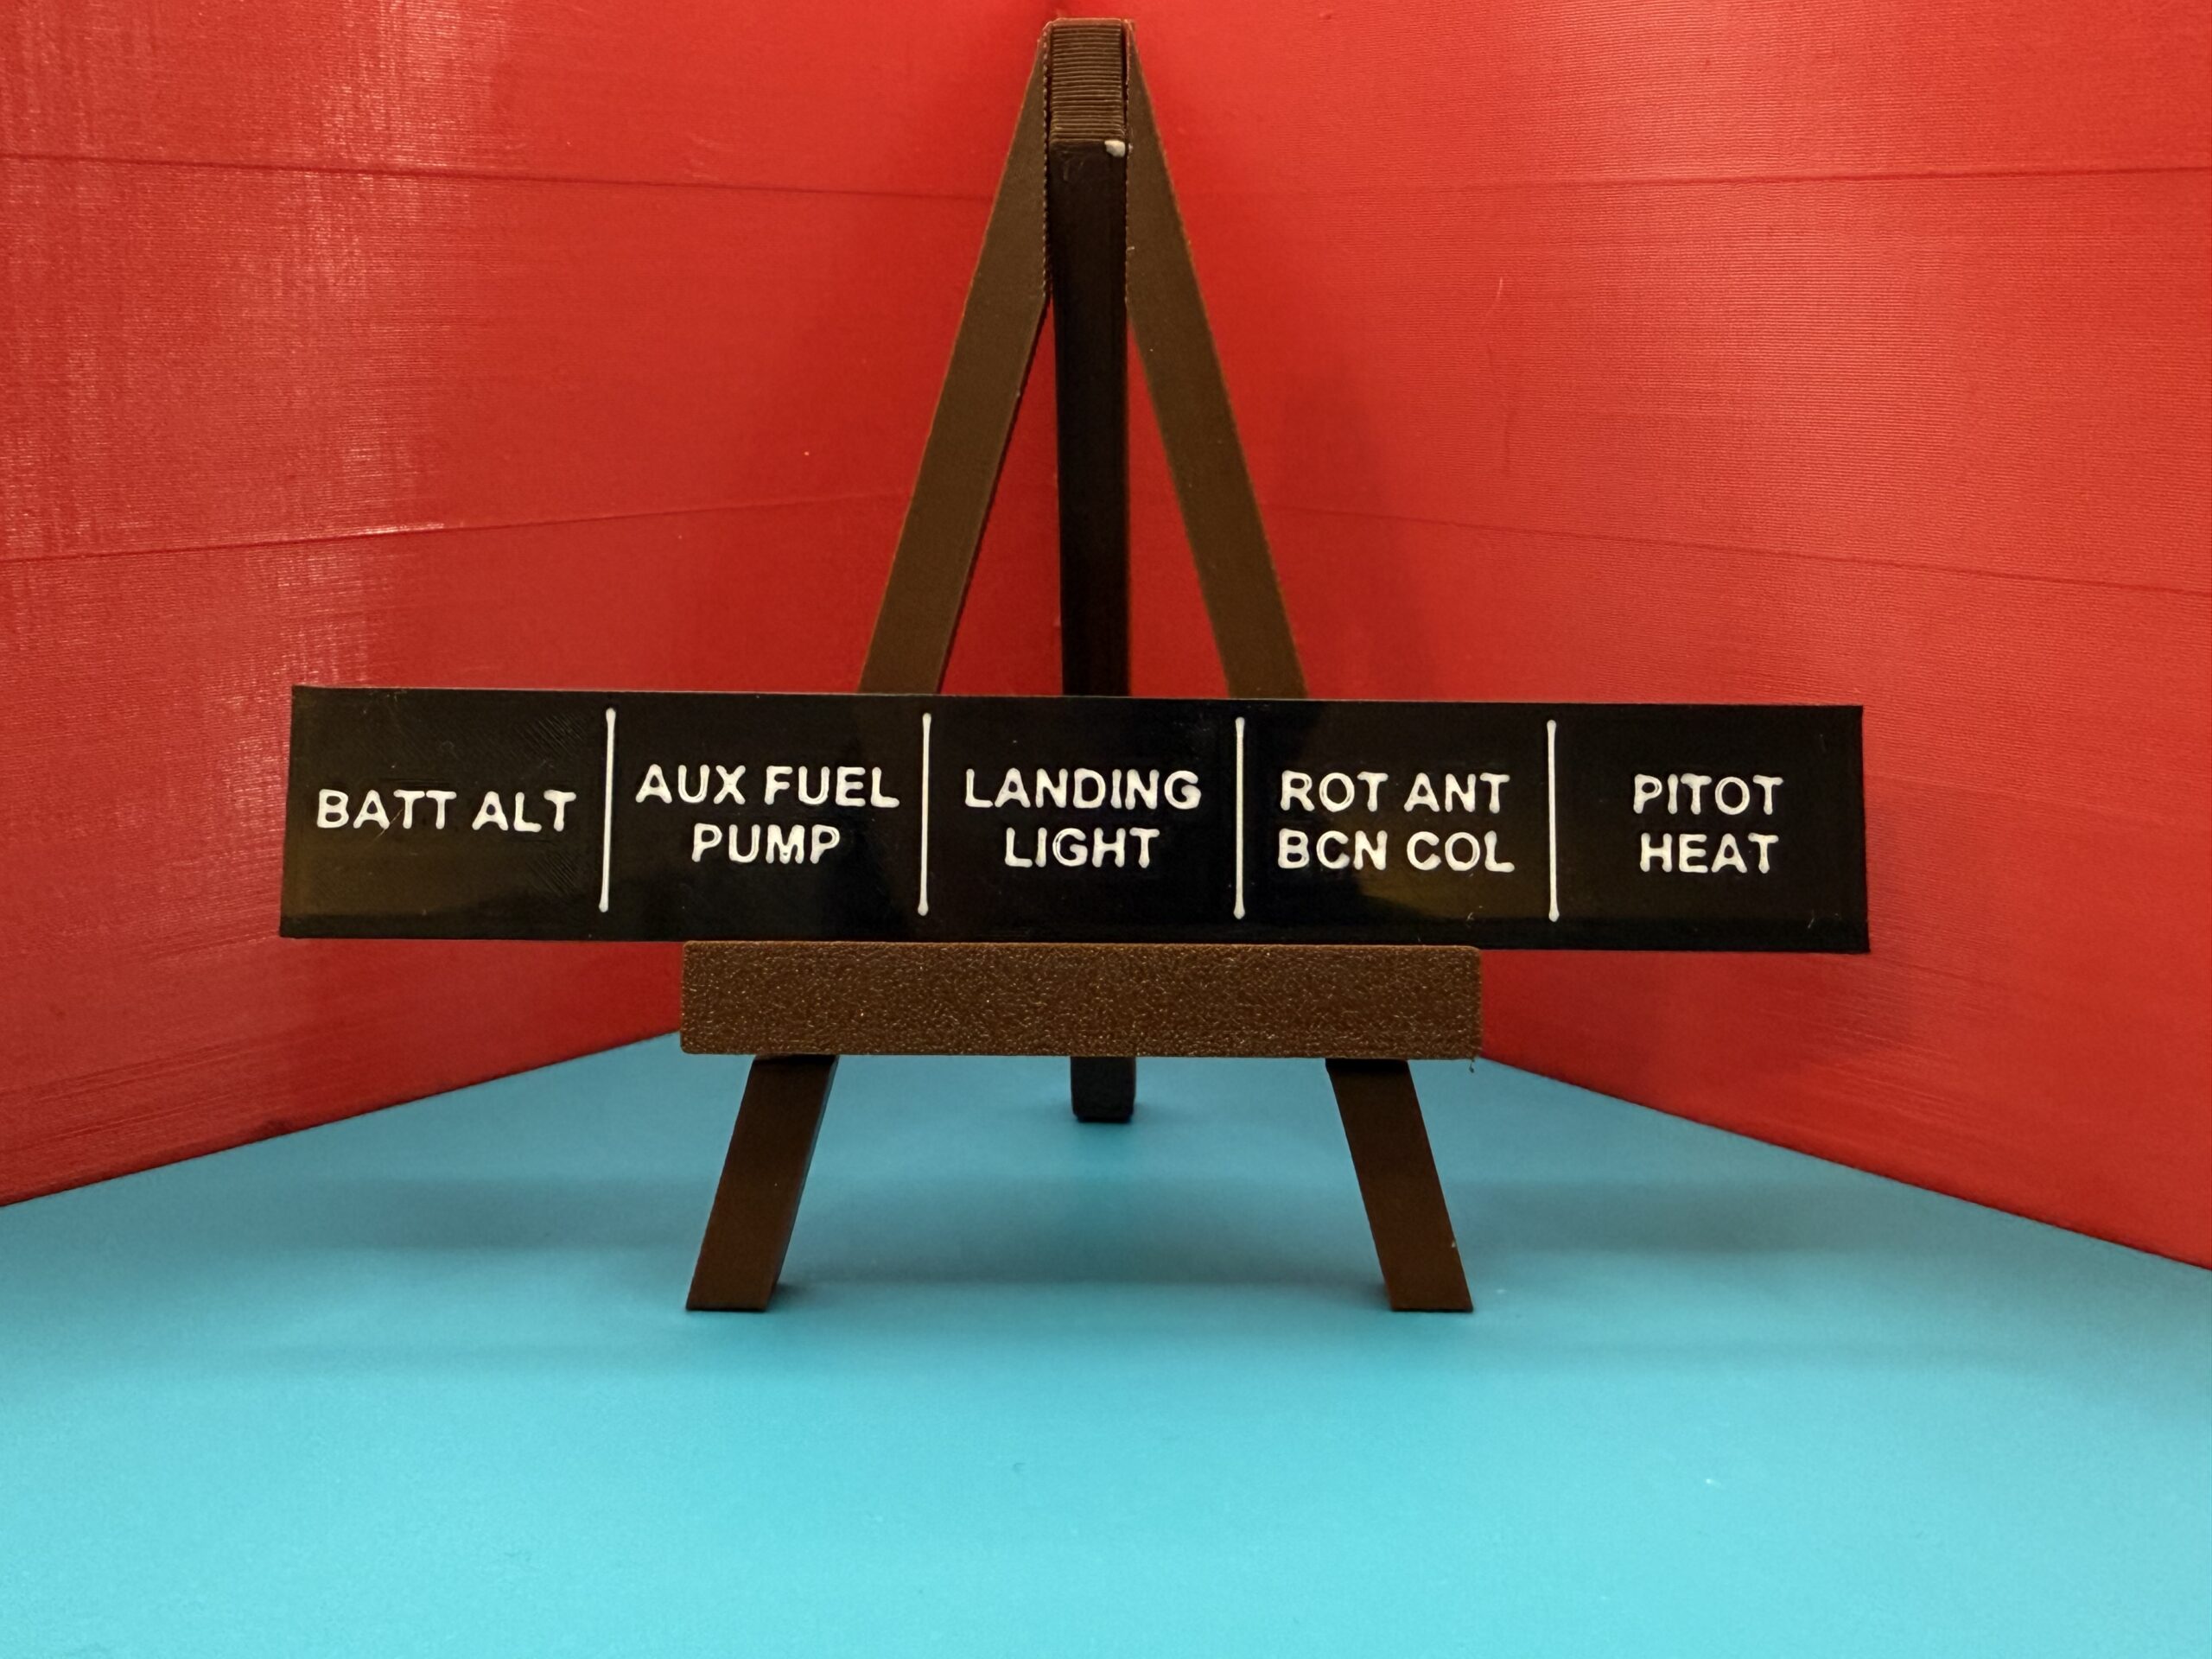
Replacement rocker switch placard for the Piper PA-28. Clean, professional printing matches OEM appearance.

SKU: piper-rocker-placard-pa28 Category: Tag:

Materials

  • High-detail PETG filament
  • OEM color match
  • UV stable formulation
  • Snap/screw fit mounting

Panel Styles

  • Standard 6-Switch — matches factory PA-28 layout
  • 8-Switch — expanded panel for modified aircraft
  • Custom Layout — specify your own switch order (+$5)

Color Options

  • Cream/OEM — matches original factory appearance
  • Light Gray — subtle modern alternative
  • White — clean, high-contrast look

Shipping

  • Shipped from Havre de Grace, MD
  • Standard USPS First Class (2–5 days)
  • Priority Mail available at checkout
  • Ships within 2–4 business days

This placard is designed for the standard rocker switch panel found across the Piper PA-28 family. The following variants have been verified for fit. If you fly a different PA-28 variant or have a modified switch panel, reach out before ordering.

Aircraft
Model
Notes
Fit
PA-28-140 Cherokee
140 / 150 / 160 / 180
Standard panel location
✓ Verified
PA-28 Warrior
151 / 161
Standard panel location
✓ Verified
PA-28 Archer
PA-28-181
Standard panel location
✓ Verified
PA-28R Arrow
PA-28R-200 / 201
Standard panel location
✓ Verified
PA-28 Dakota
PA-28-236
Standard panel location
✓ Verified

Not sure which panel style fits your aircraft? Contact us with your N-number or aircraft model and we'll confirm before you order.

1

Remove the old placard

Release the retaining clips or remove the screws holding the existing placard in place. On most PA-28 panels the placard lifts out with gentle upward pressure once the clips are released. Set the hardware aside — you will reuse it.

2

Clean the panel surface

Wipe down the switch panel with a clean, dry cloth to remove any dust or residue. Ensure the mounting points are clear and undamaged before installing the new placard.

3

Align and press into position

Align the new placard over the rocker switches and press firmly into the original mounting points. Re-engage the retaining clips or reinstall the screws until the placard sits flush and secure. Verify each switch label reads correctly before closing up the panel.