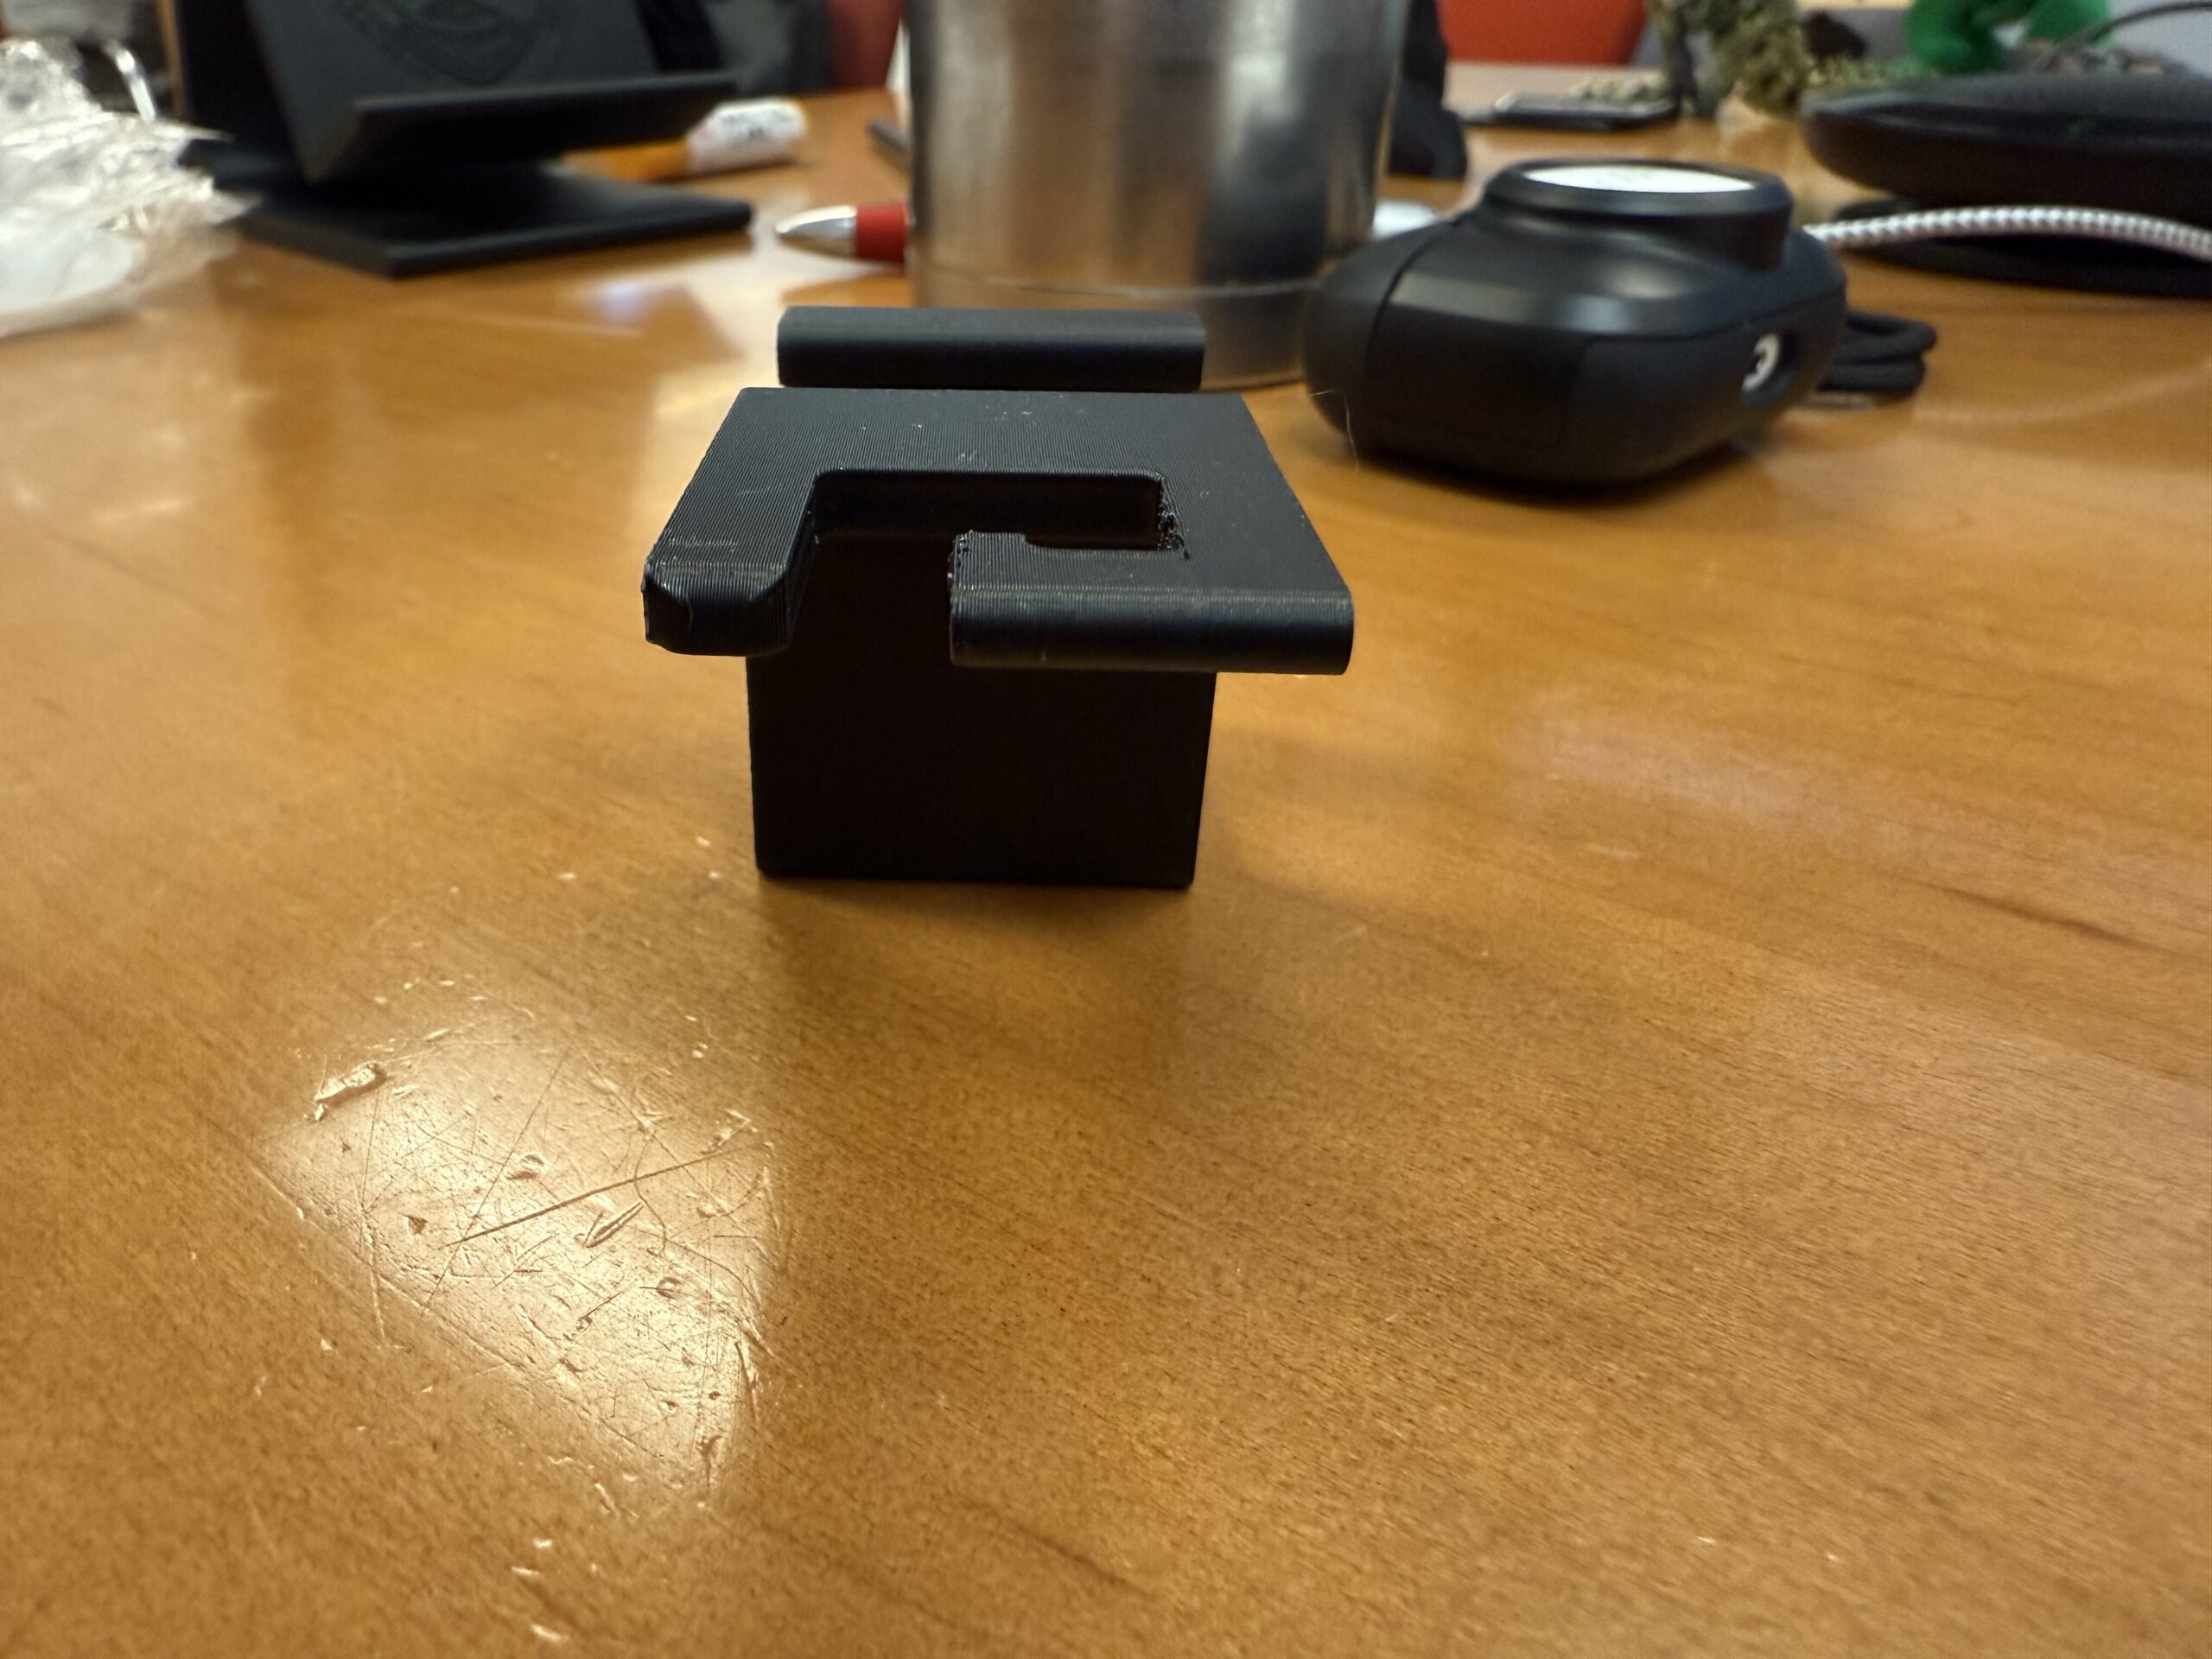
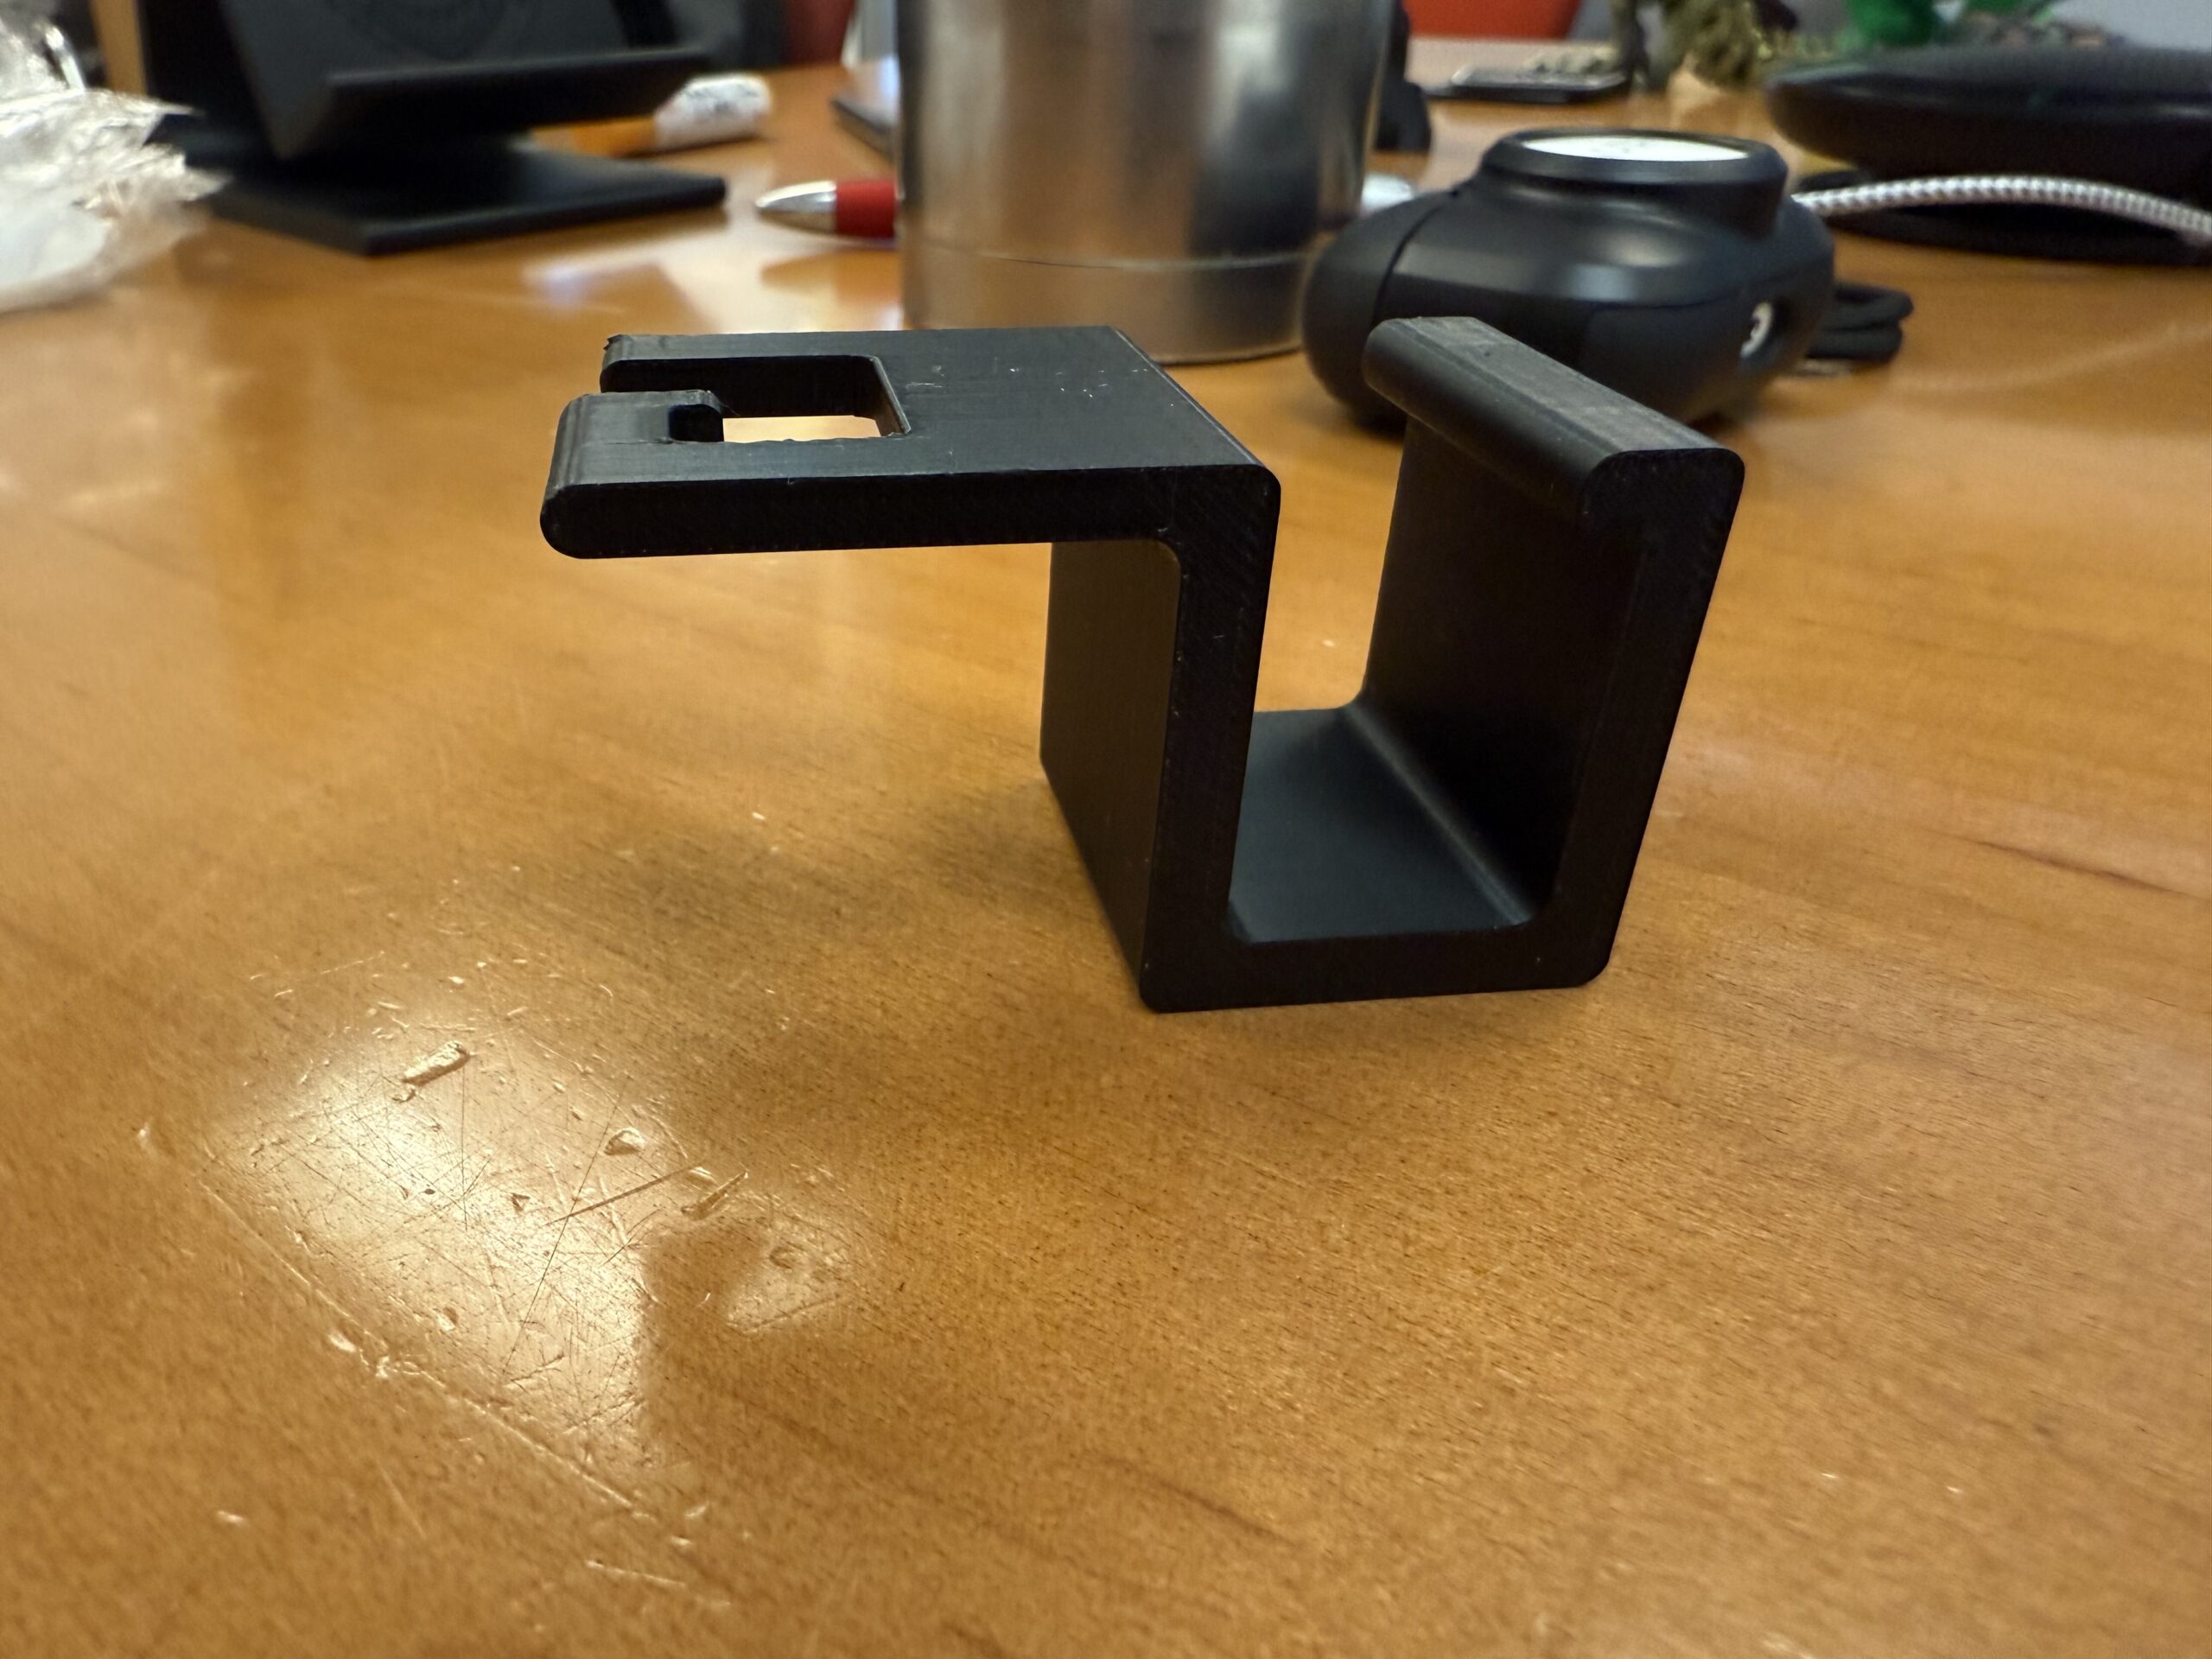
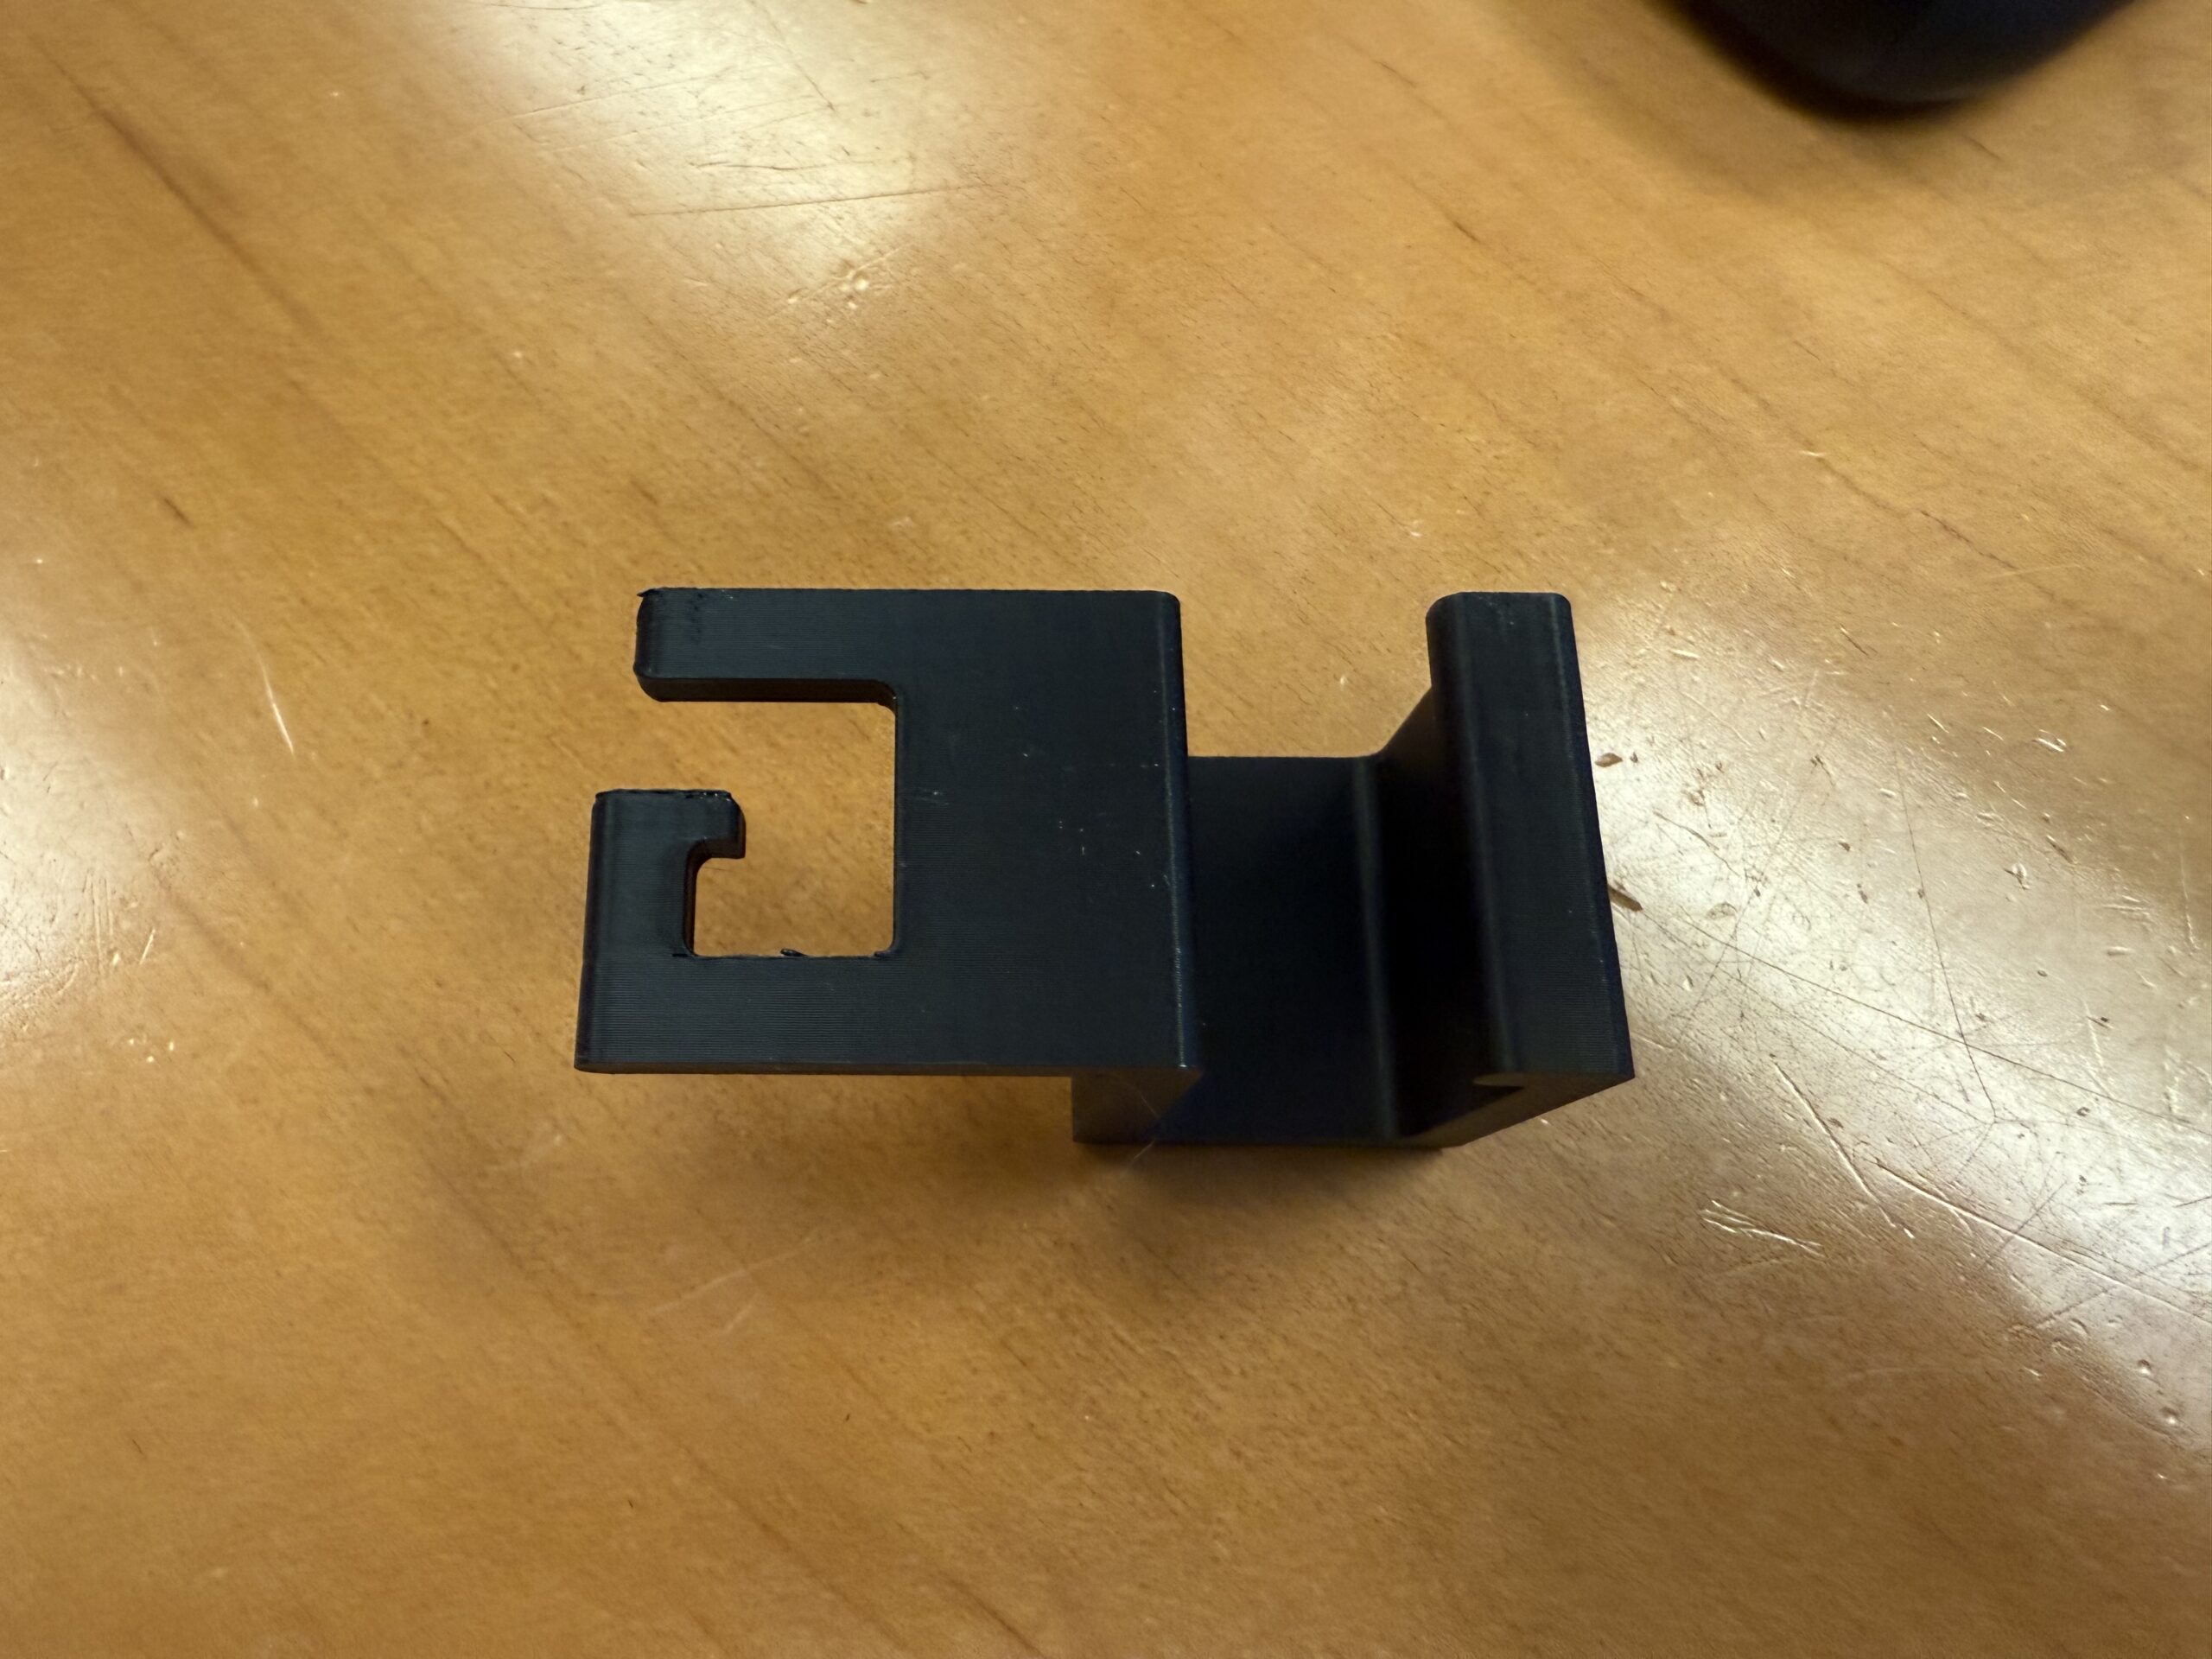
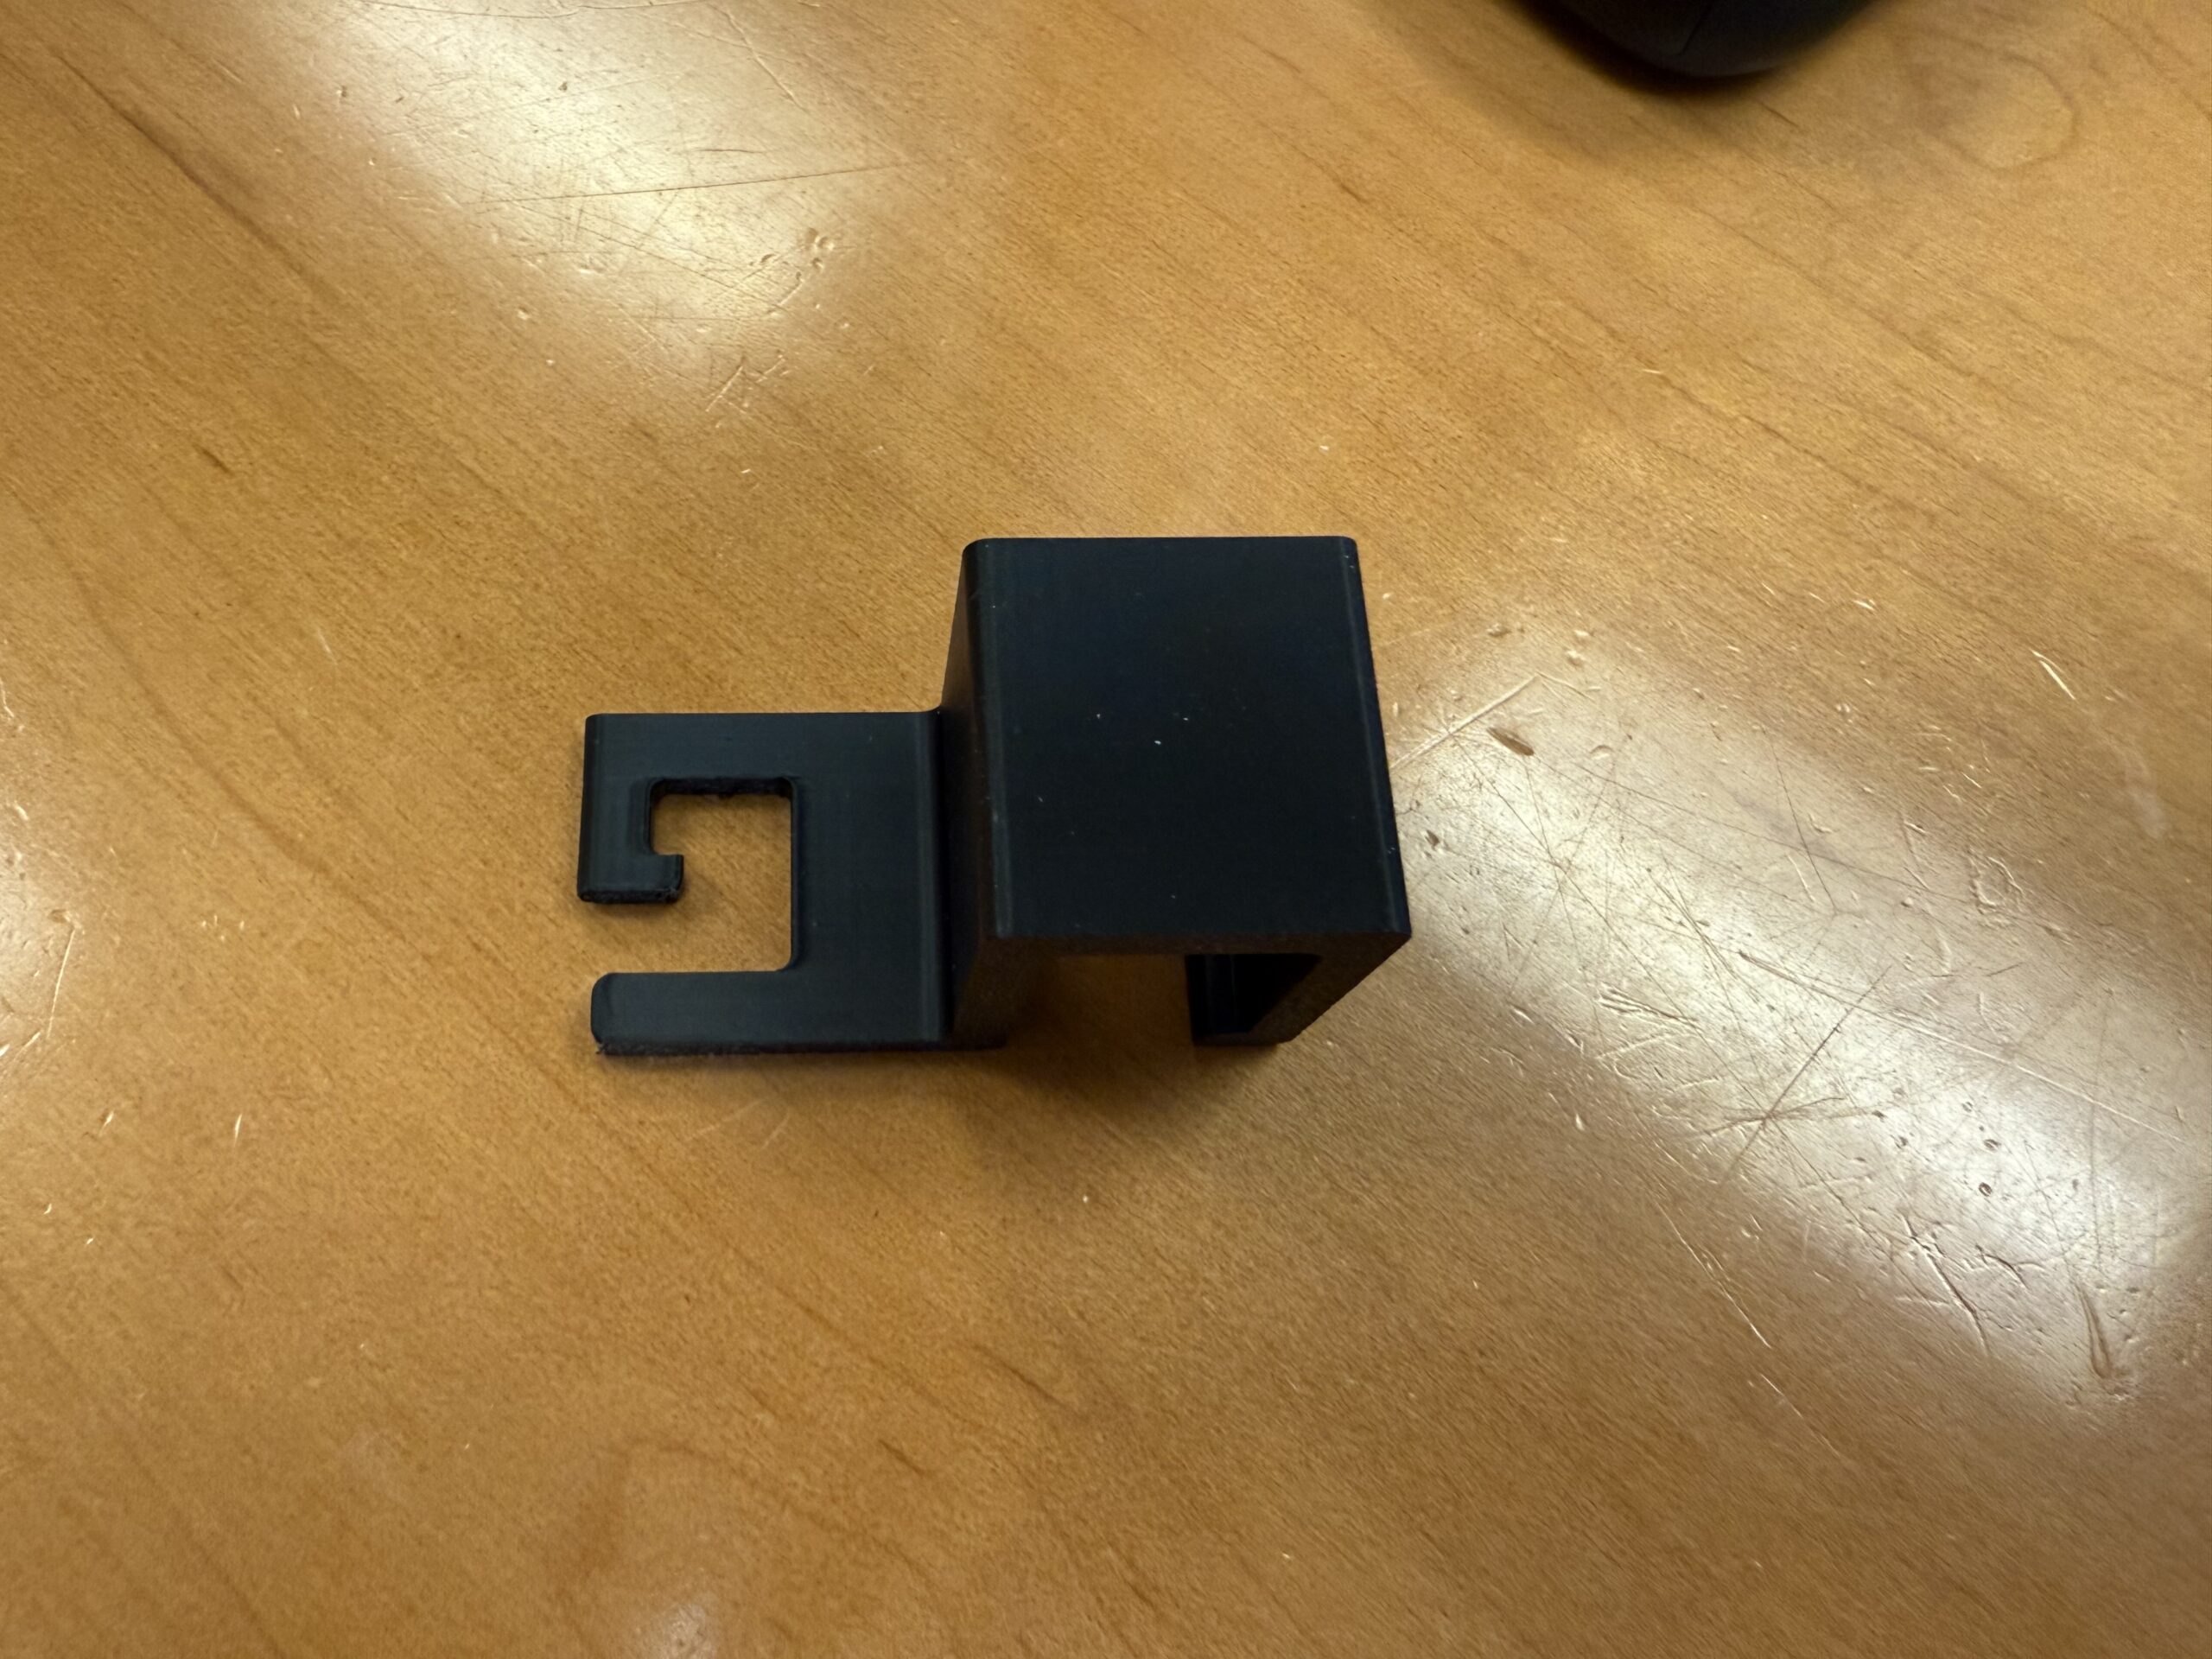
Fronk Bag Hooks – Compatible with Rivian R1T & R1S

$22.50

+ Free Shipping

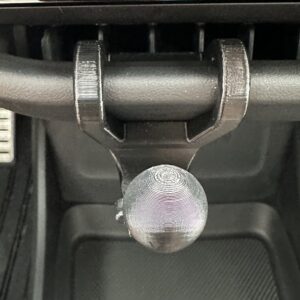
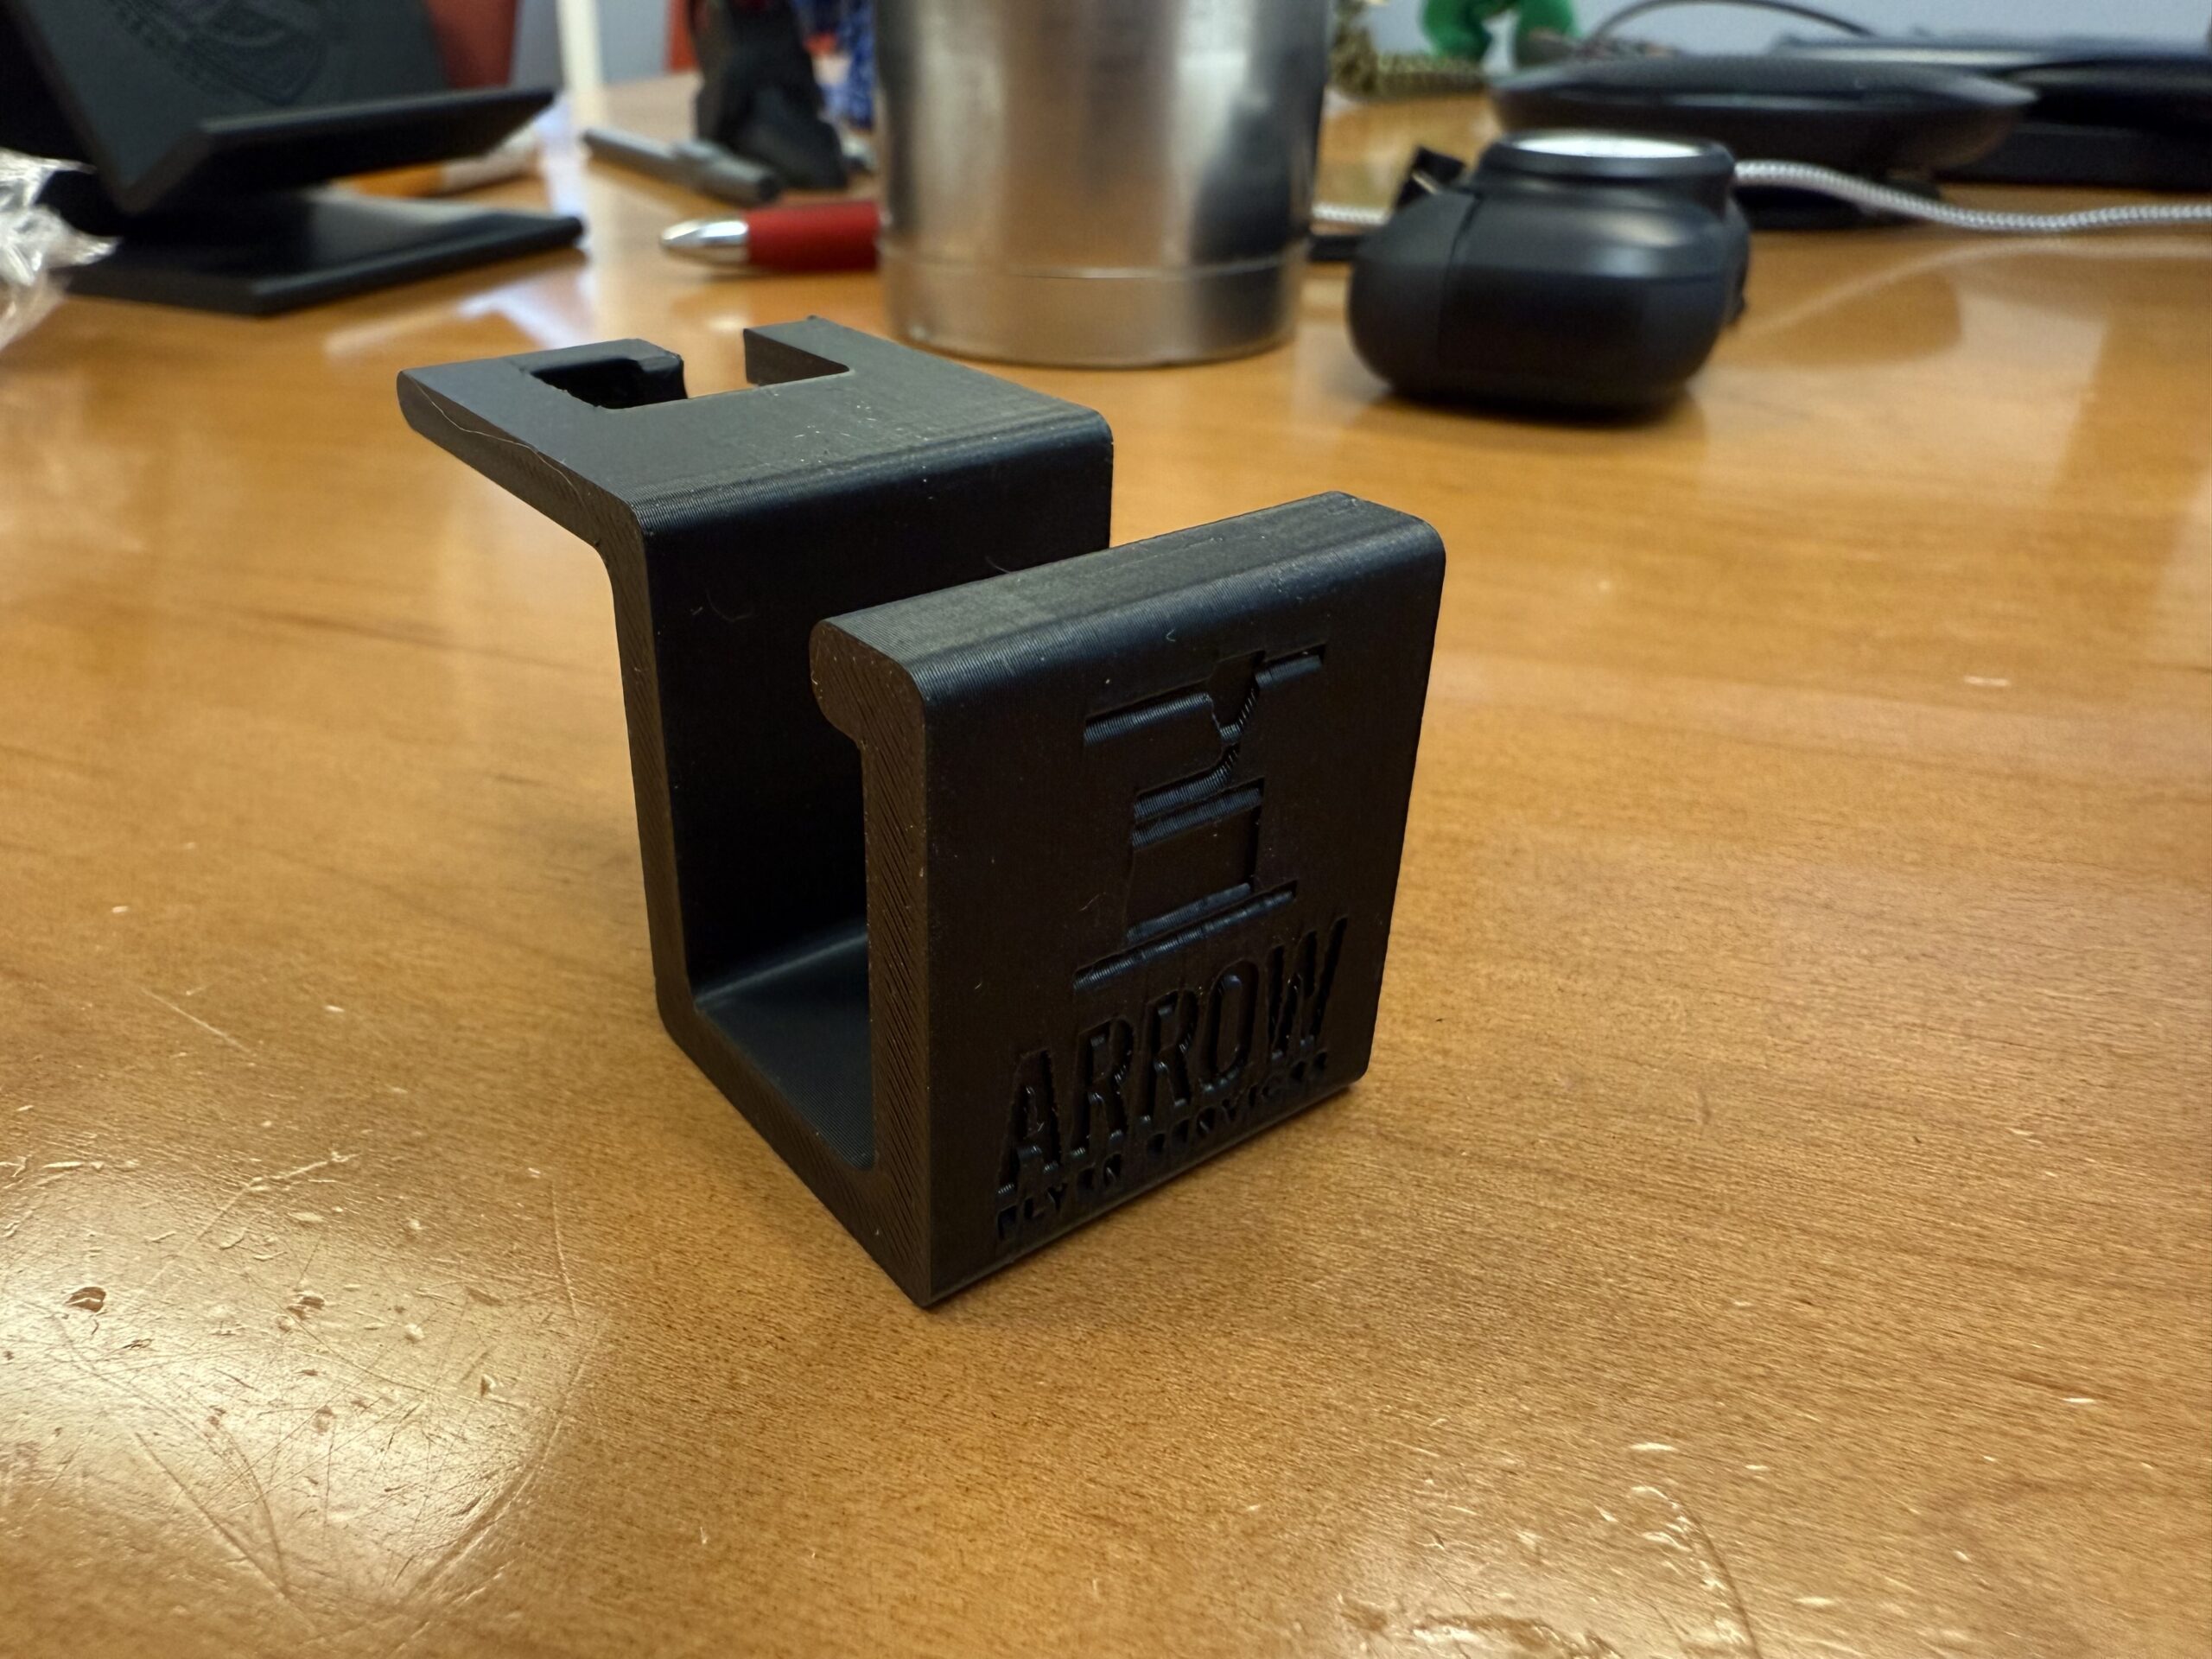
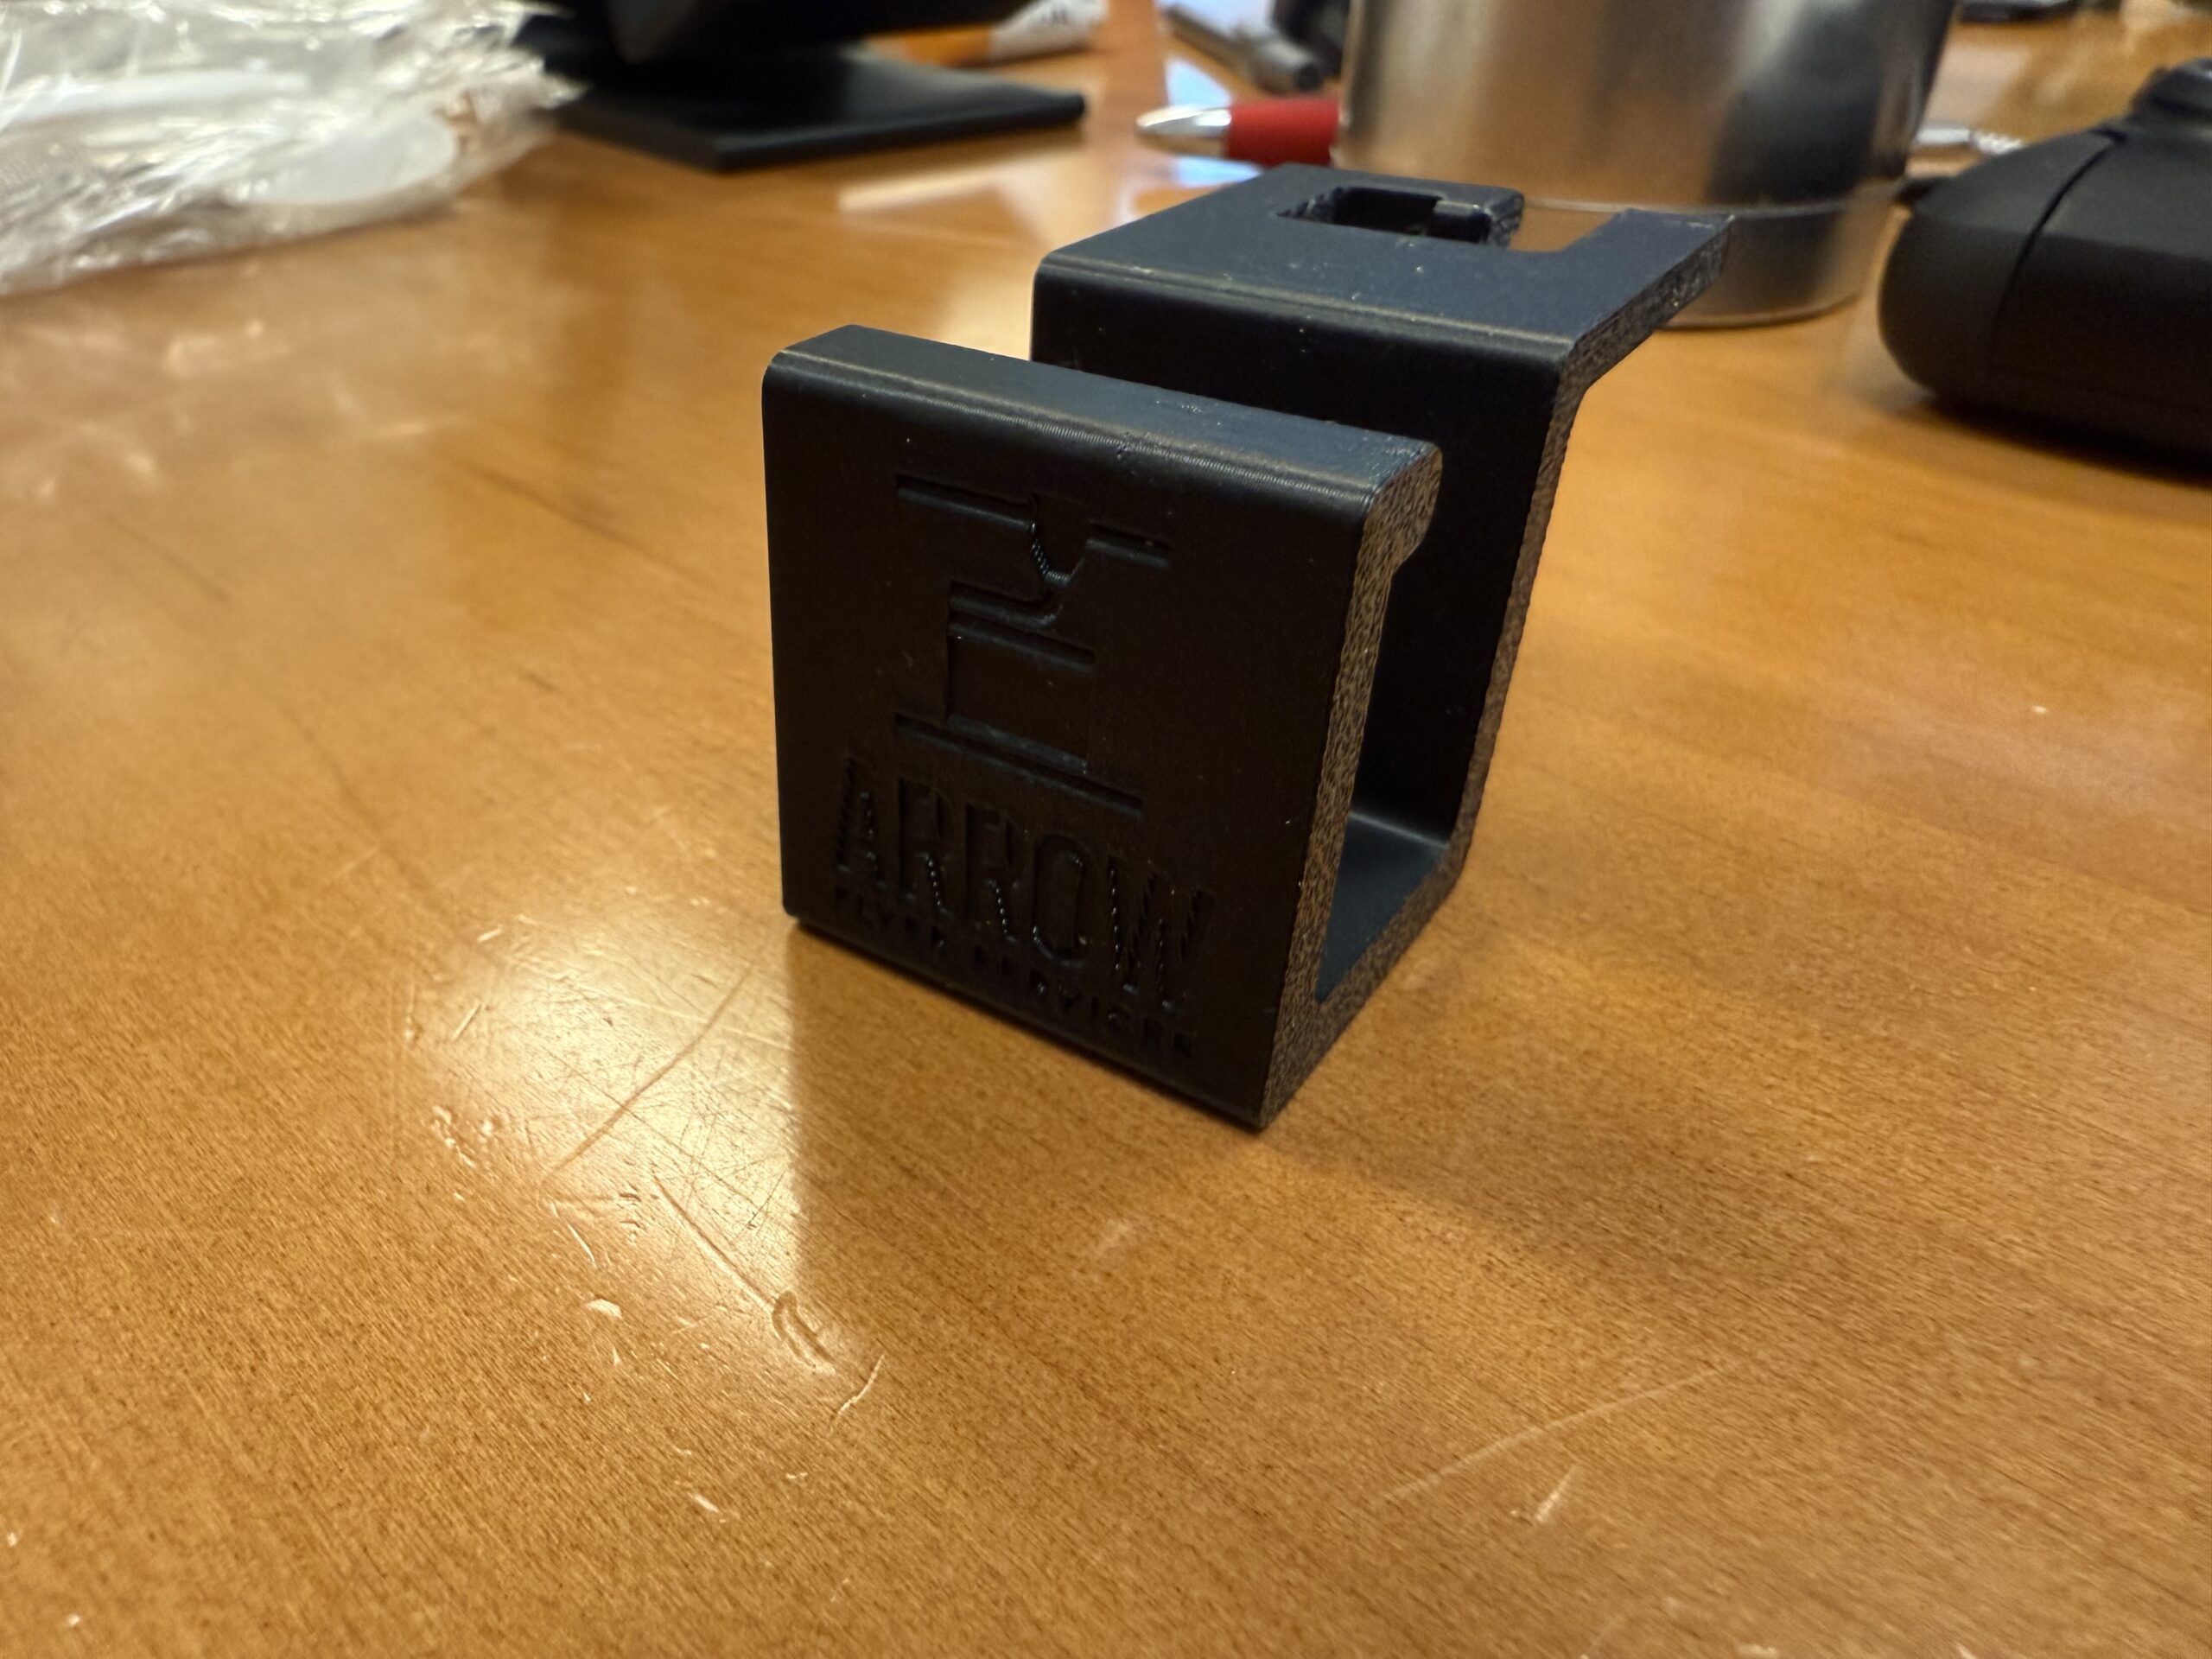
Bag holder for Gen 1 Rivian R1T and R1S fronk areas that helps keep grocery bags and loose cargo upright.

SKU: rivian-fronk-bag-holder Category: Tag:

Materials

  • PETG printed construction at 100% infill
  • Heat-resistant PETG construction
  • Lightweight and durable for daily vehicle use
  • Designed for repeated loading and unloading

What It Does

  • Helps keep bags from tipping over in the fronk
  • Creates a cleaner, more organized cargo area
  • Useful for groceries, small gear bags, and loose items
  • Uses the existing fronk hook area for a clean installed look

Design

  • Made for Gen 1 Rivian R1T and R1S fronk areas shown in the photos
  • Low-profile layout for a tidy installed look
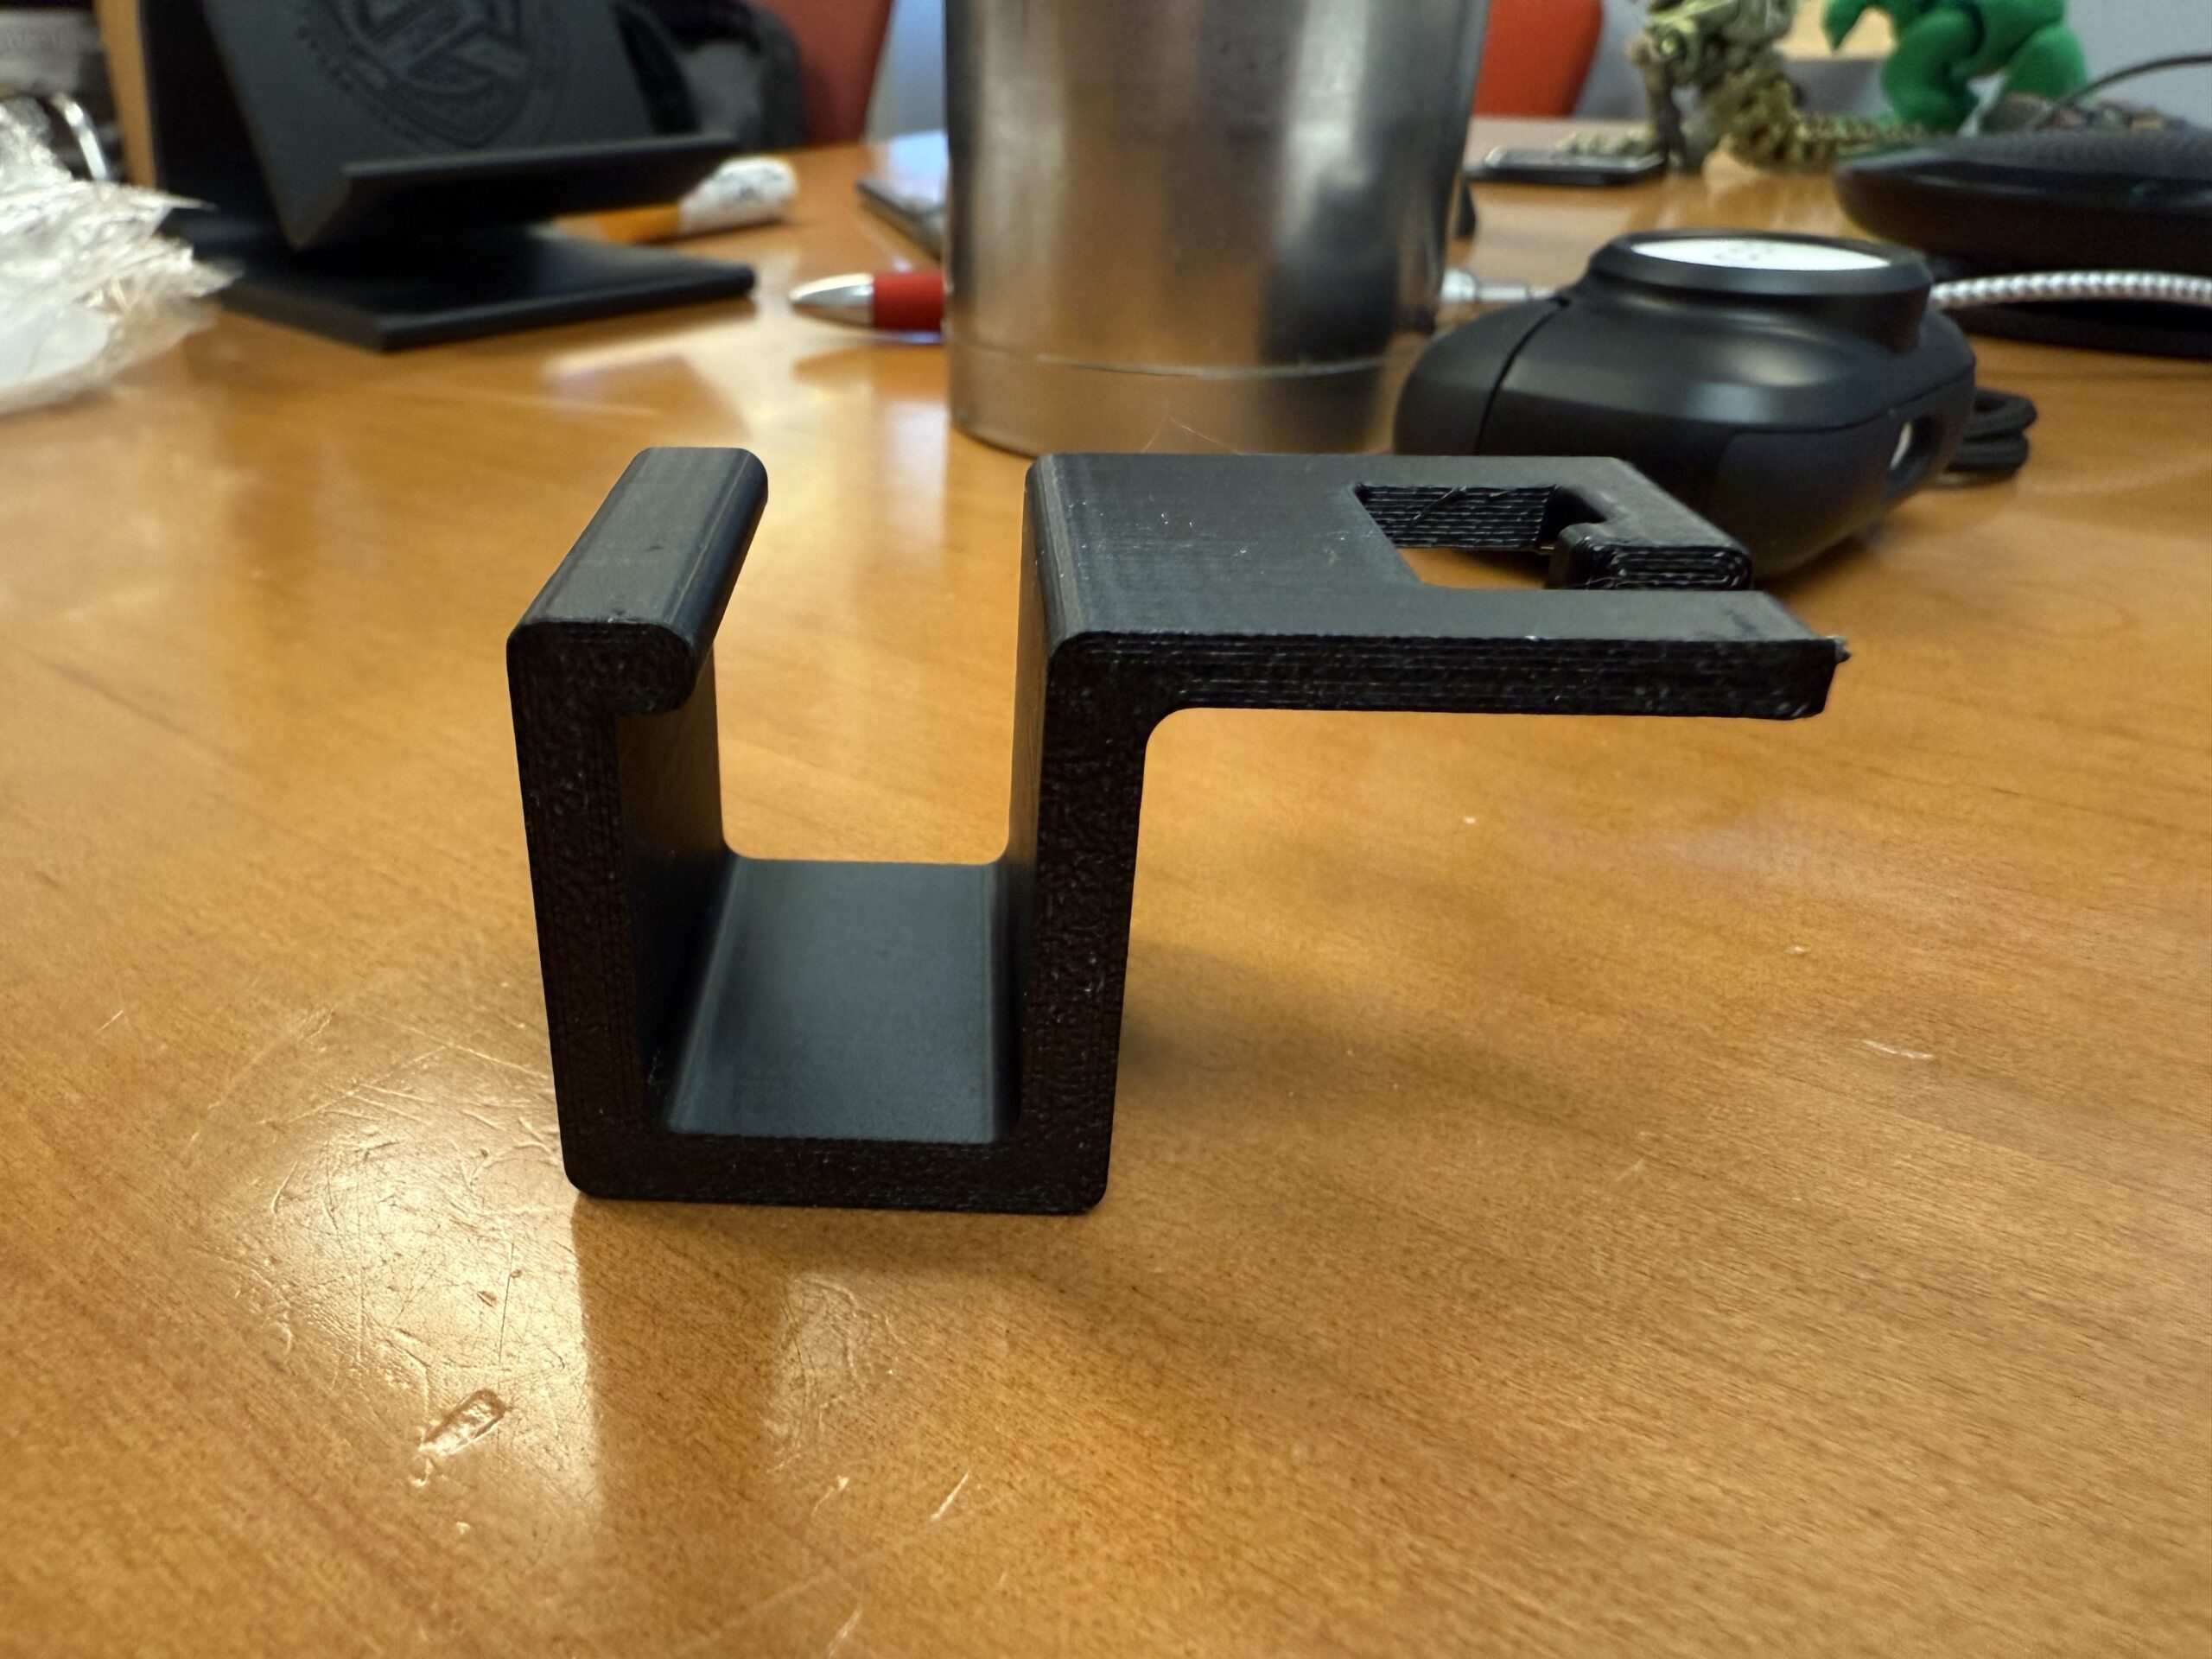
  • Keyed tab design seats into the existing fronk hook opening
  • No separate hardware required for the setup shown

Shipping

  • Shipped from Havre de Grace, MD
  • Reach out with fitment questions before ordering
  • Typical production lead time available on request
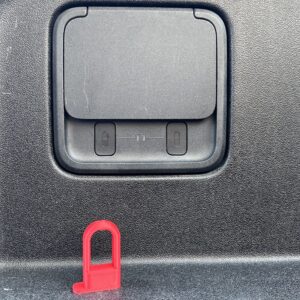
Designed around the Gen 1 Rivian R1T and R1S fronk layout shown in the listing photos. Compare your cargo area to the photos if you are using mats, inserts, or other accessories that may affect placement.

Area
What To Check
Why It Matters
Fronk Hook Area
Confirm your fronk side panel and hook opening match the layout shown in the photos
The keyed mounting tab needs the stock opening to seat correctly
Mats & Accessories
Check for fronk liners, inserts, or nearby accessories around the hook area
Extra thickness or trim changes can affect how the hook sits
Bag Size
Compare the bags or cargo you plan to carry to the support area shown
Best results come from matching the holder to the bag size you use most often

Fitment is intended for Gen 1 Rivian R1T and R1S. Need to confirm fit? Send a photo of your fronk setup and we’ll help verify it.

1

Clear the fronk area

Remove loose cargo and check the fronk hook opening so the mounting tab can seat cleanly.

2

Line up the keyed tab

Hold the hook in the same orientation shown in the listing photos and align the keyed tab with the existing fronk hook opening.

3

Seat the hook in place

Insert the tab and slide the part into its seated position until it sits flush and feels secure against the panel.

4

Load bags and verify fit

Hang a bag on the hook, confirm the position feels stable, and repeat on the other side if you are installing the full set.